Revert/Rollback Version
Introduction
This document explain the work of how to rollback Arkademi Web App version on ECS.
Overview
This applies to the case where the deployed application has an error and it is important to revert to a previous version.
Links
The AWS
https://us-east-1.console.aws.amazon.com/cloudfront/v3/home?region=ap-southeast-1#/distributions
Admin Panel
https://admin.arkademi.com/aws/create
How To
First do an update on AWS then do caching invalidation on the Arkademi admin.
Revert or Rollback
- Visit the AWS console

- Access the search bar to input
ecsand chooseElastic Container Service You will see that there are 2 clusters: production and staging.
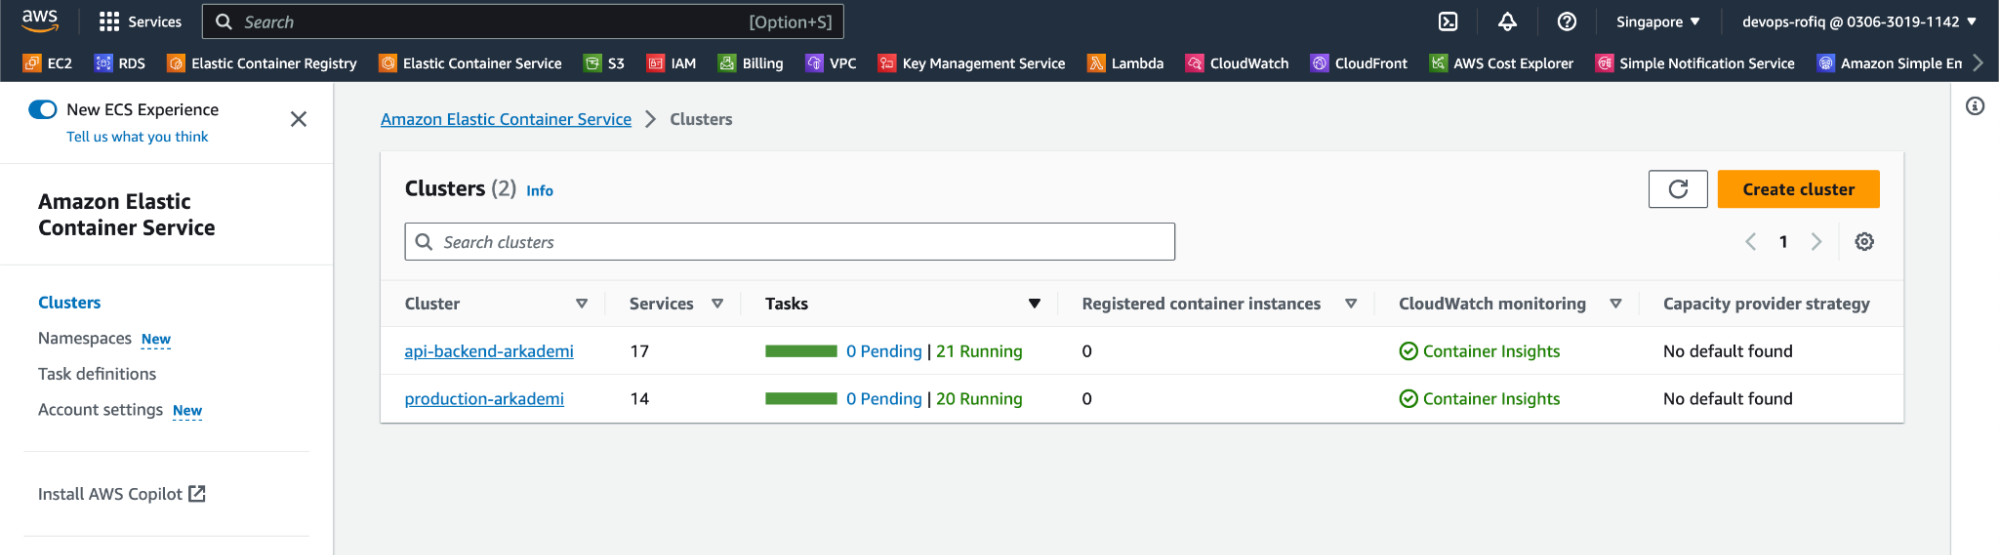
- For example, we will revert the production cluster, so select the production cluster. It will show the following display.
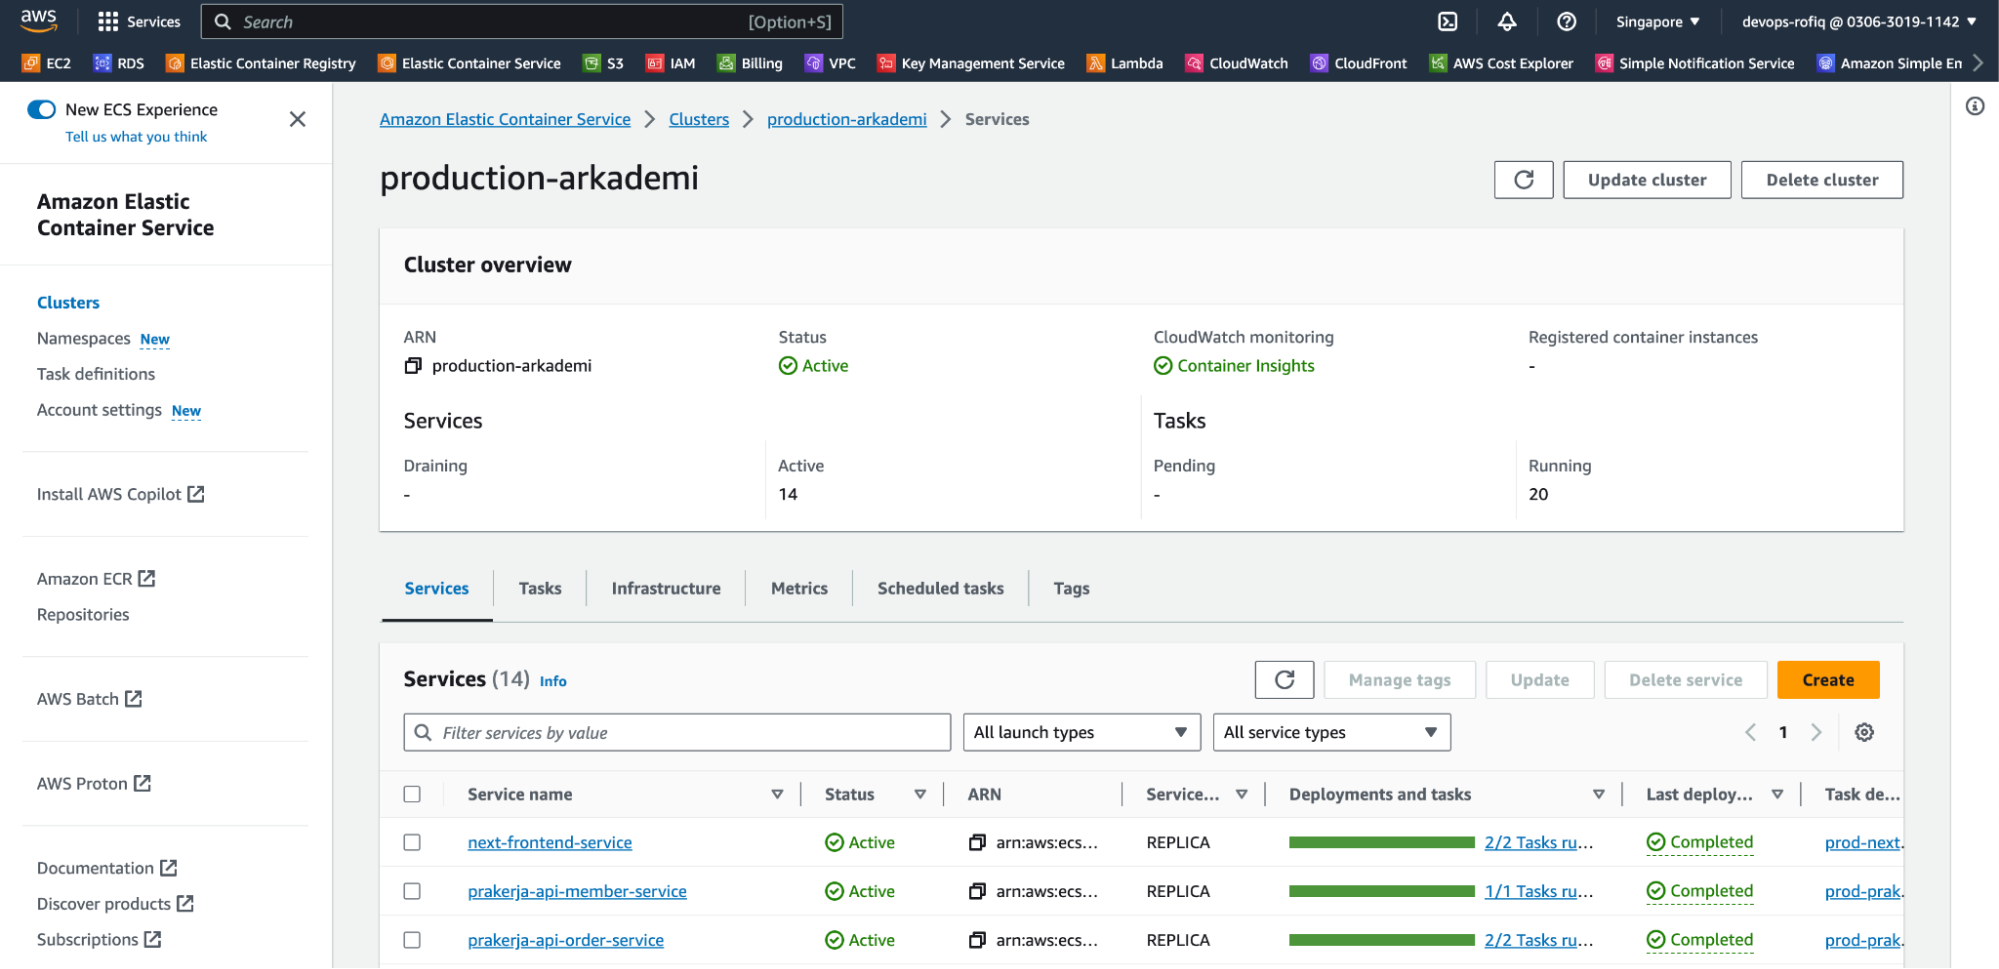
- Then select
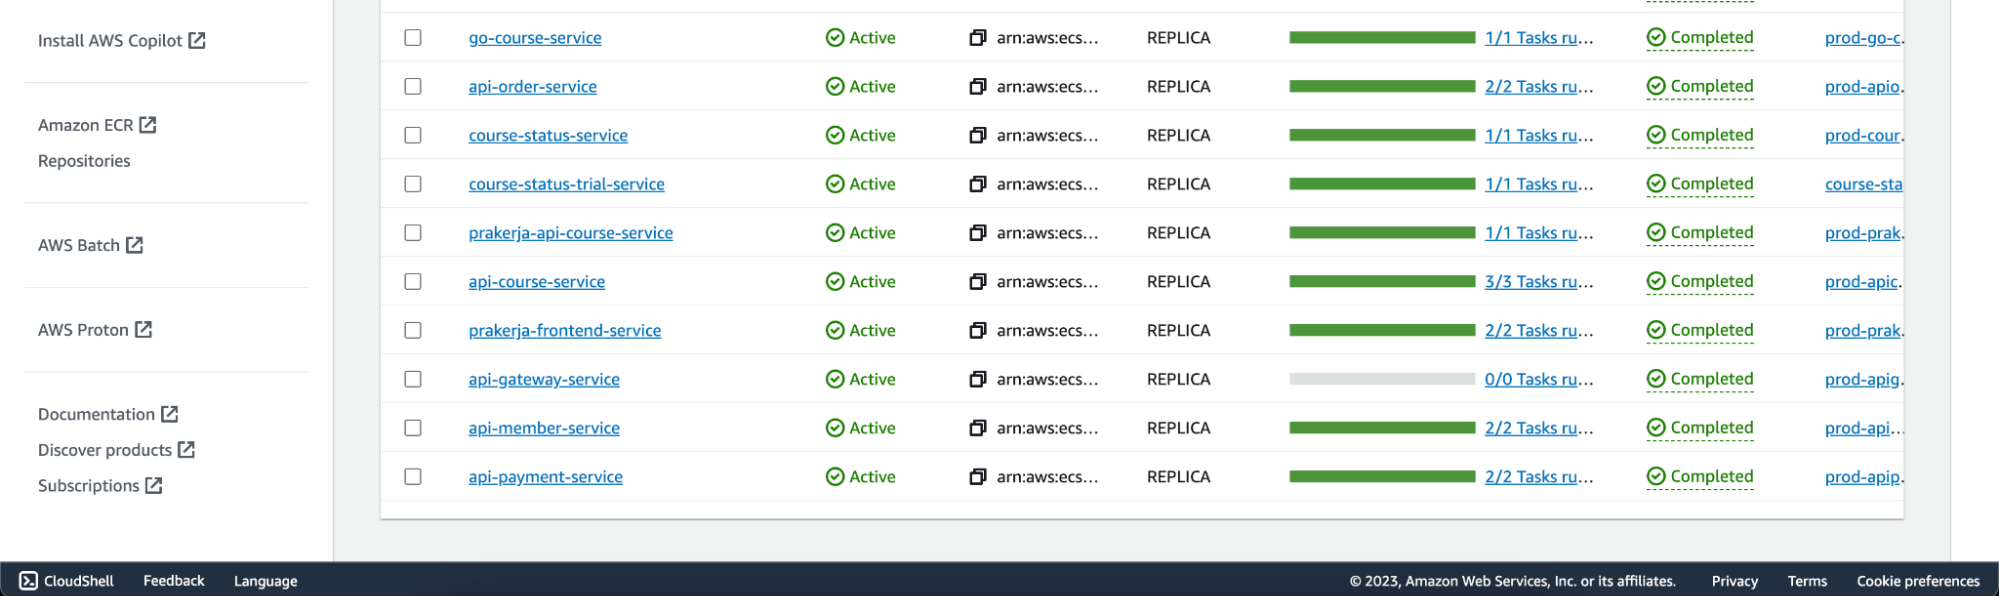
next-frontend-service, you can select it directly or from the search results.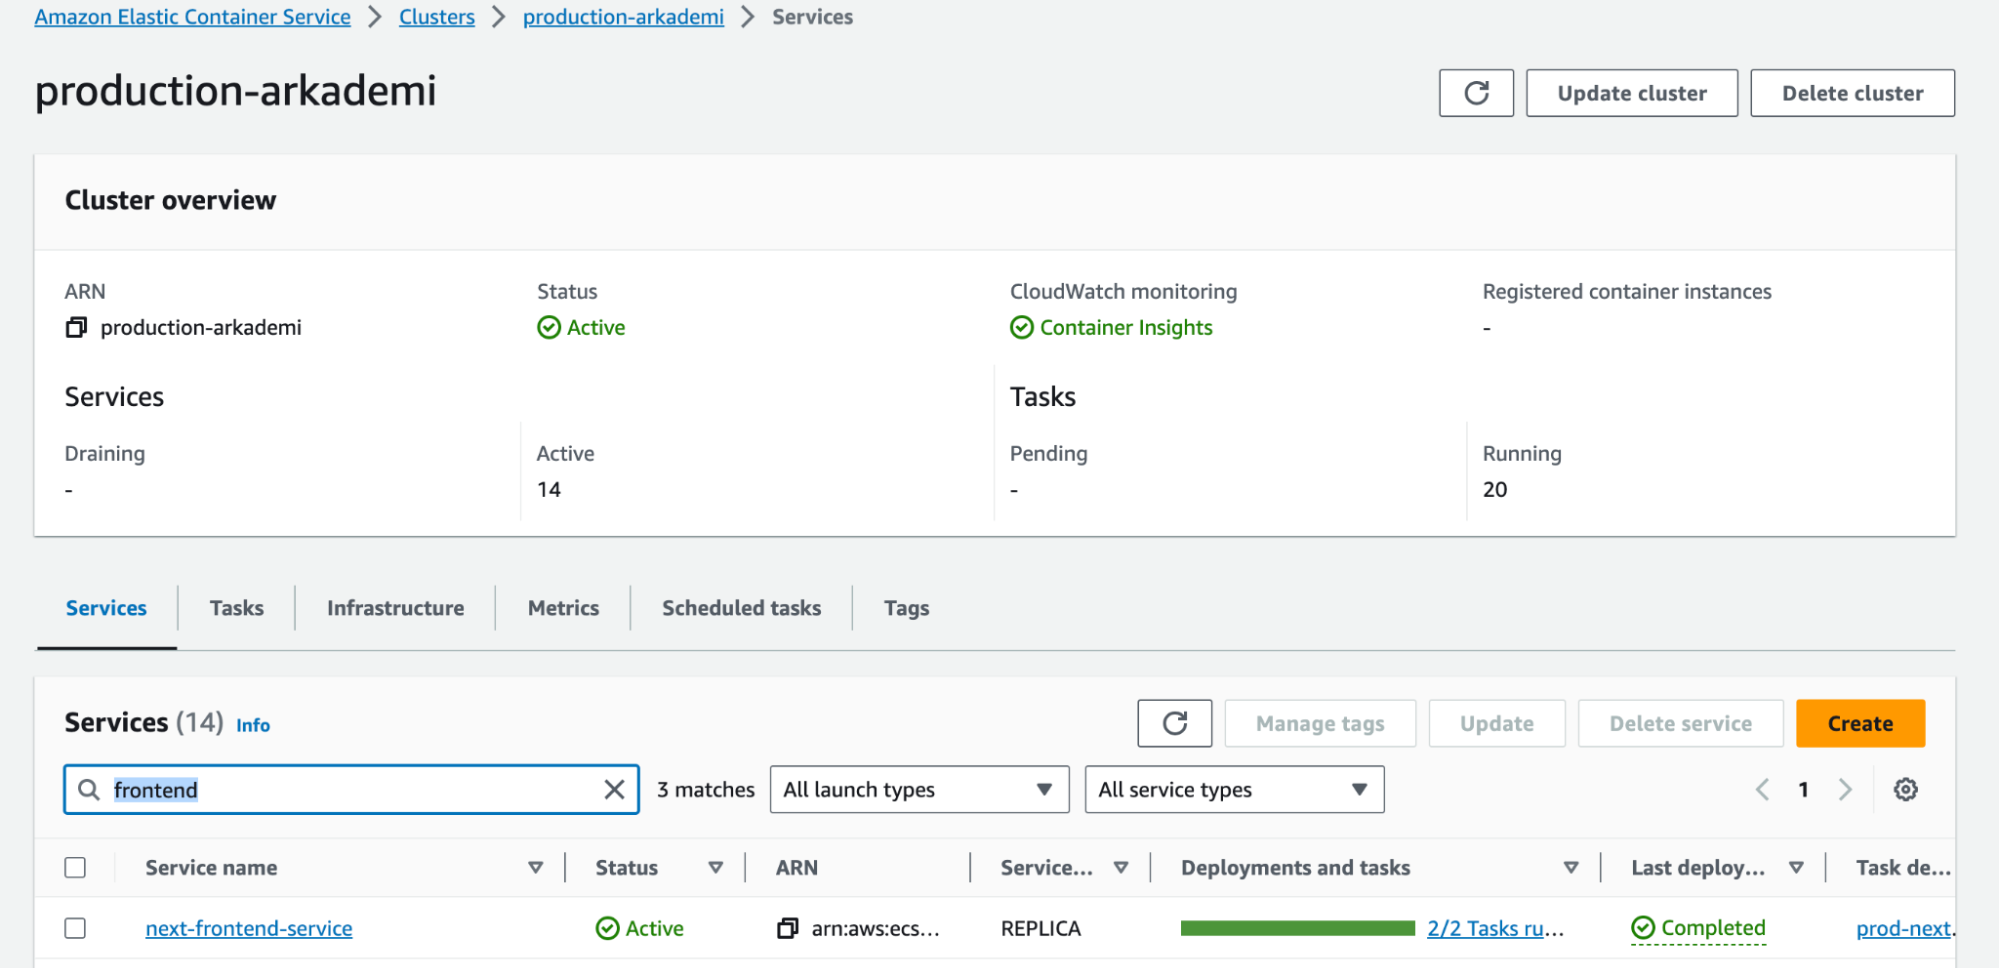 From the previous process, a page like the following will be displayed, then click
 Update Service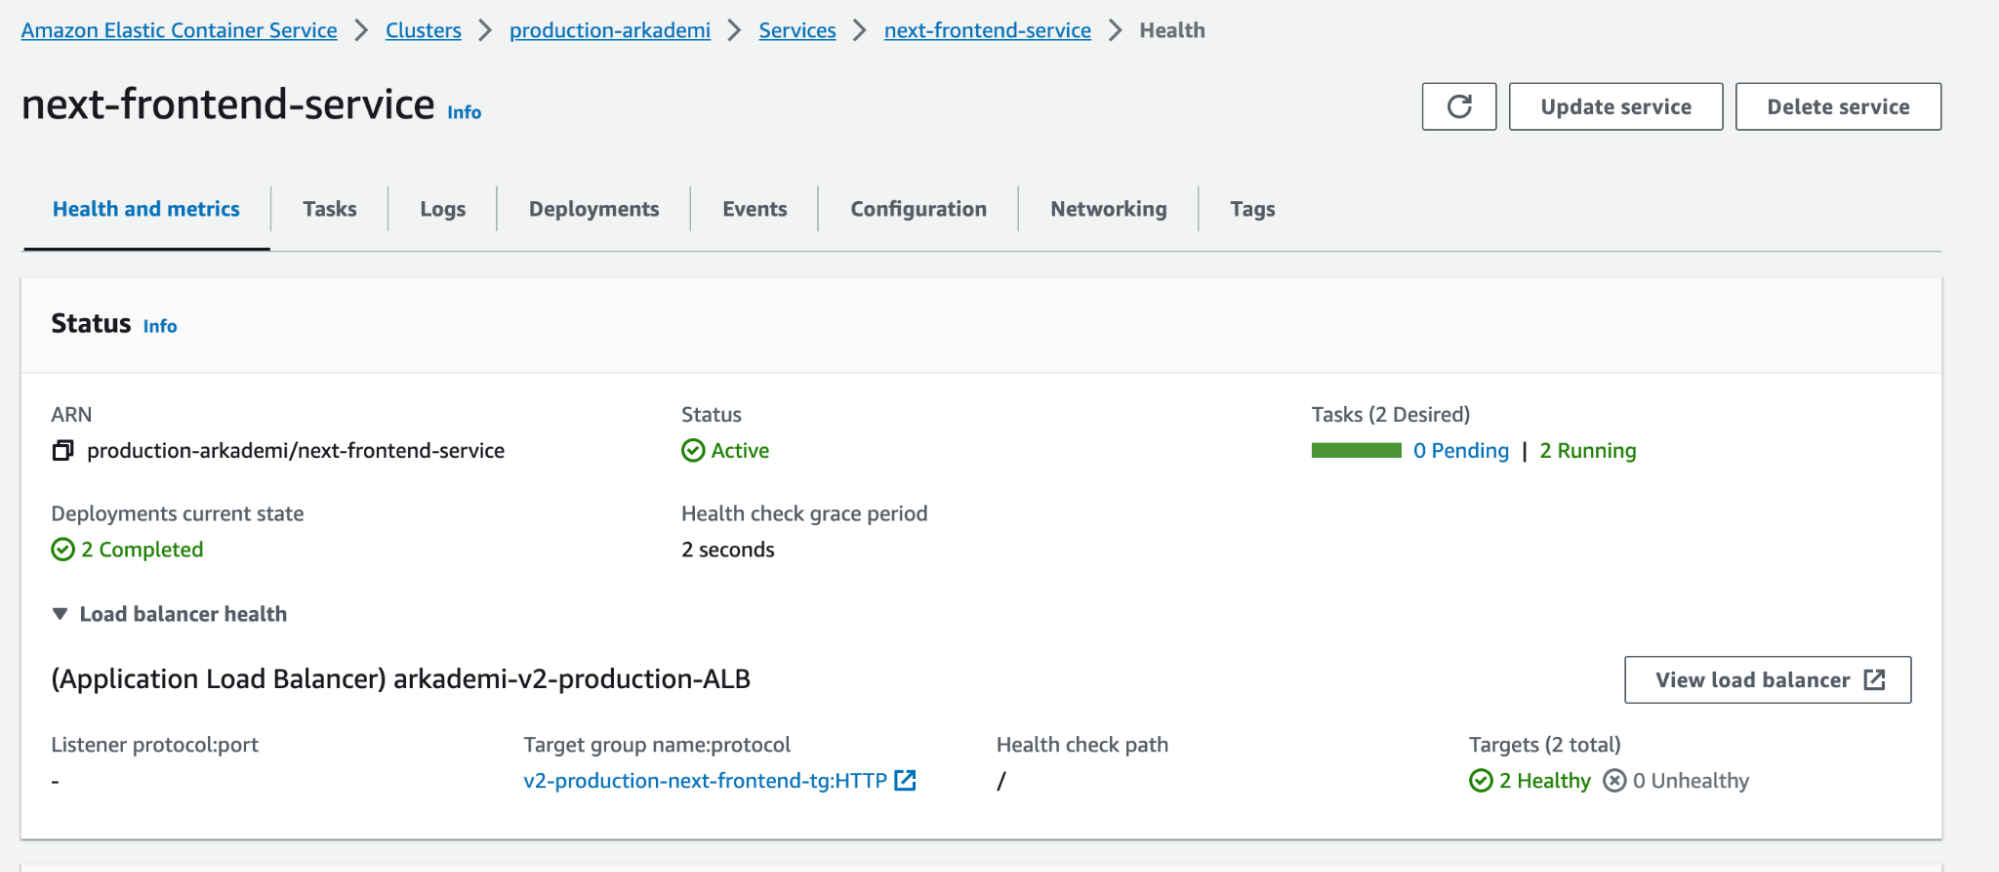
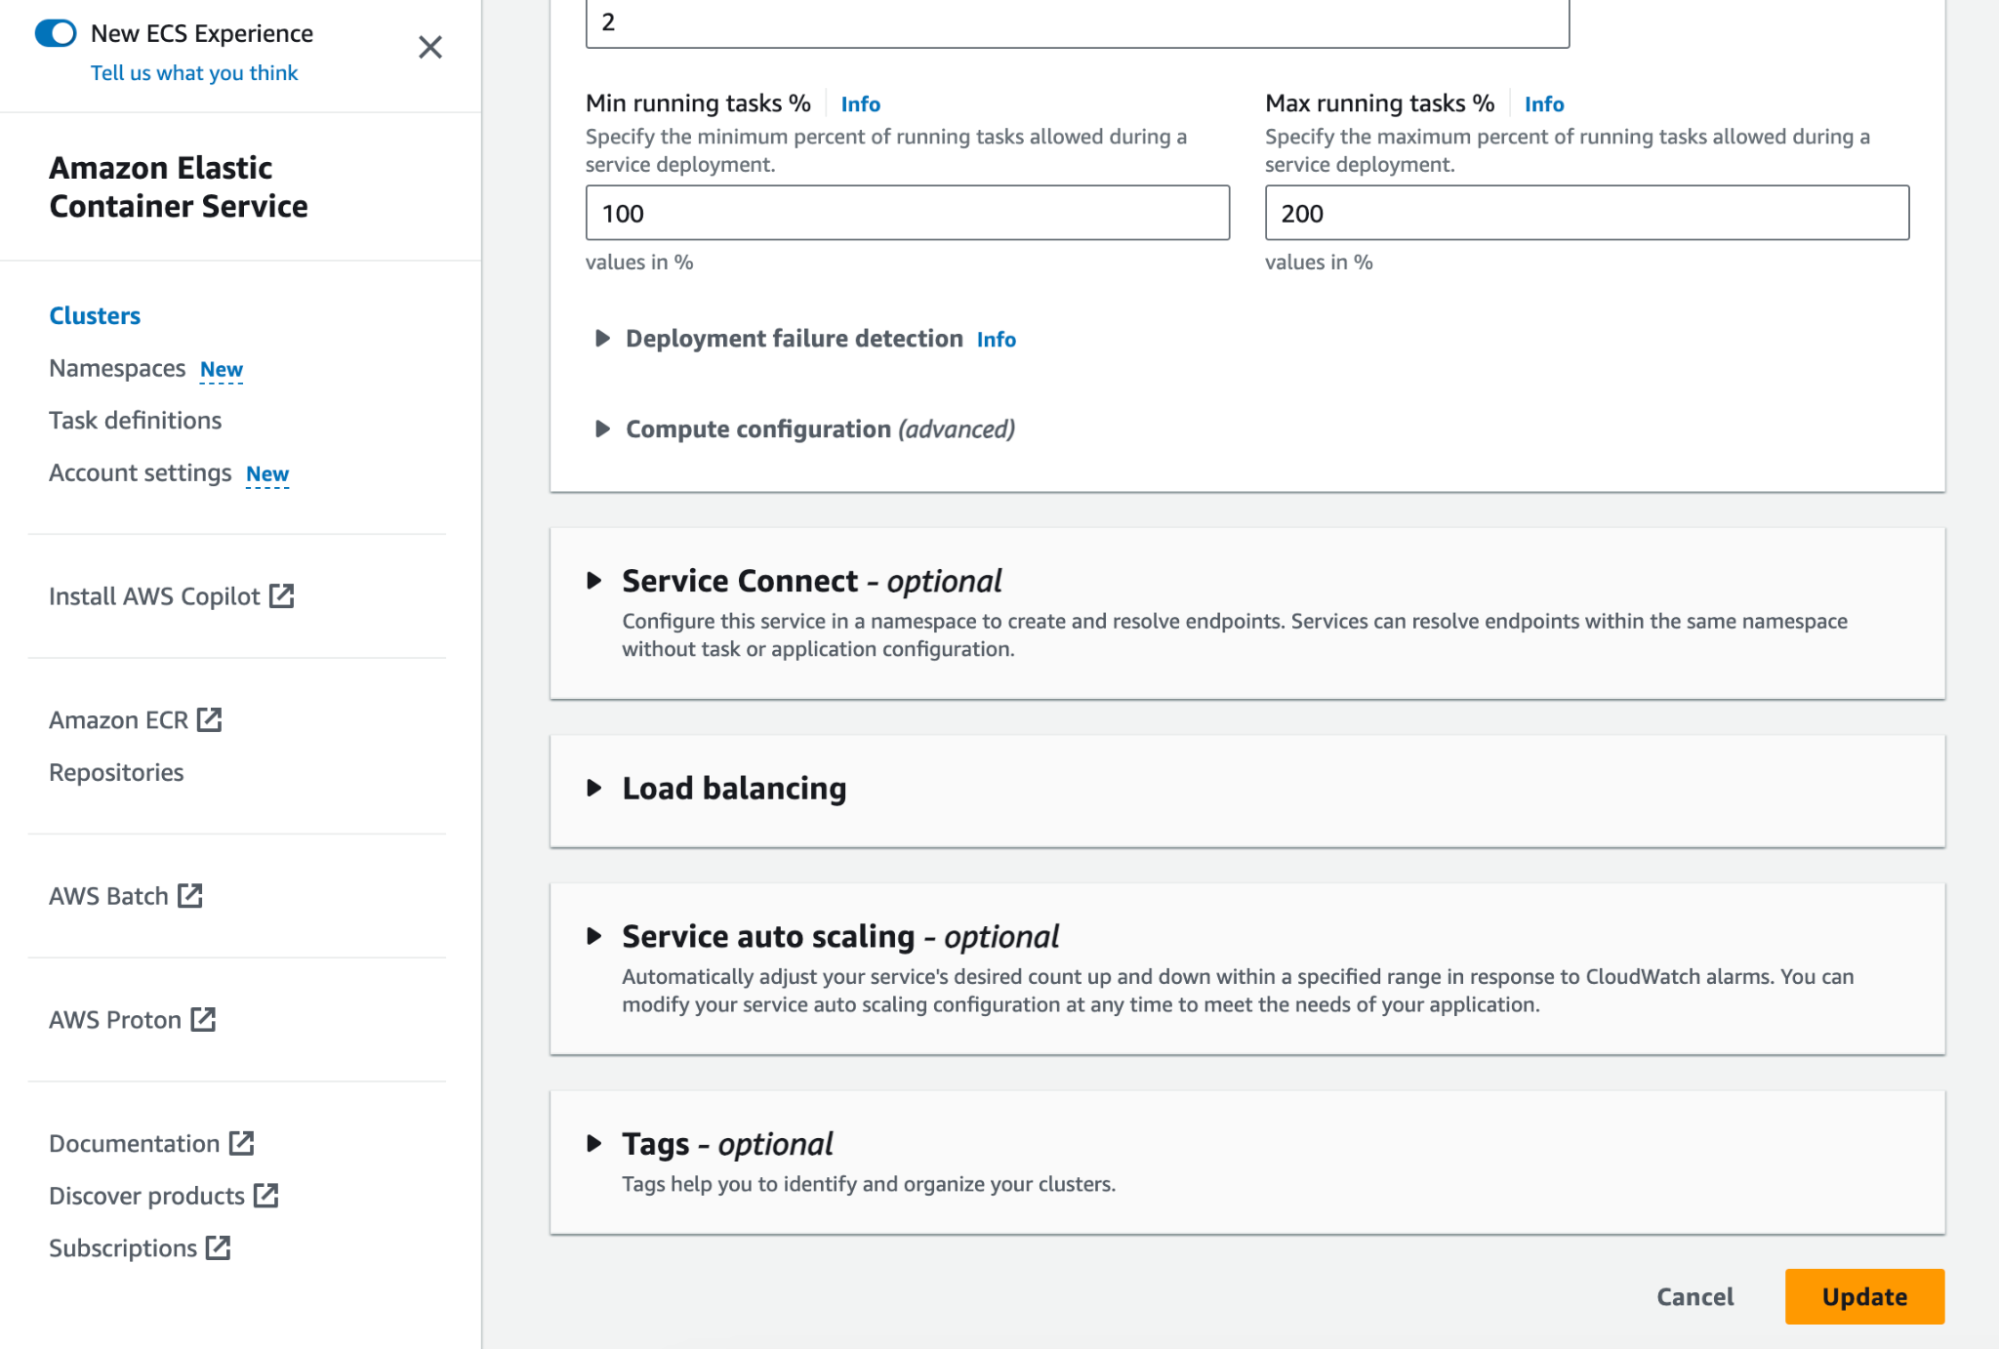
- The
Revisionfield indicates the current version, which is127.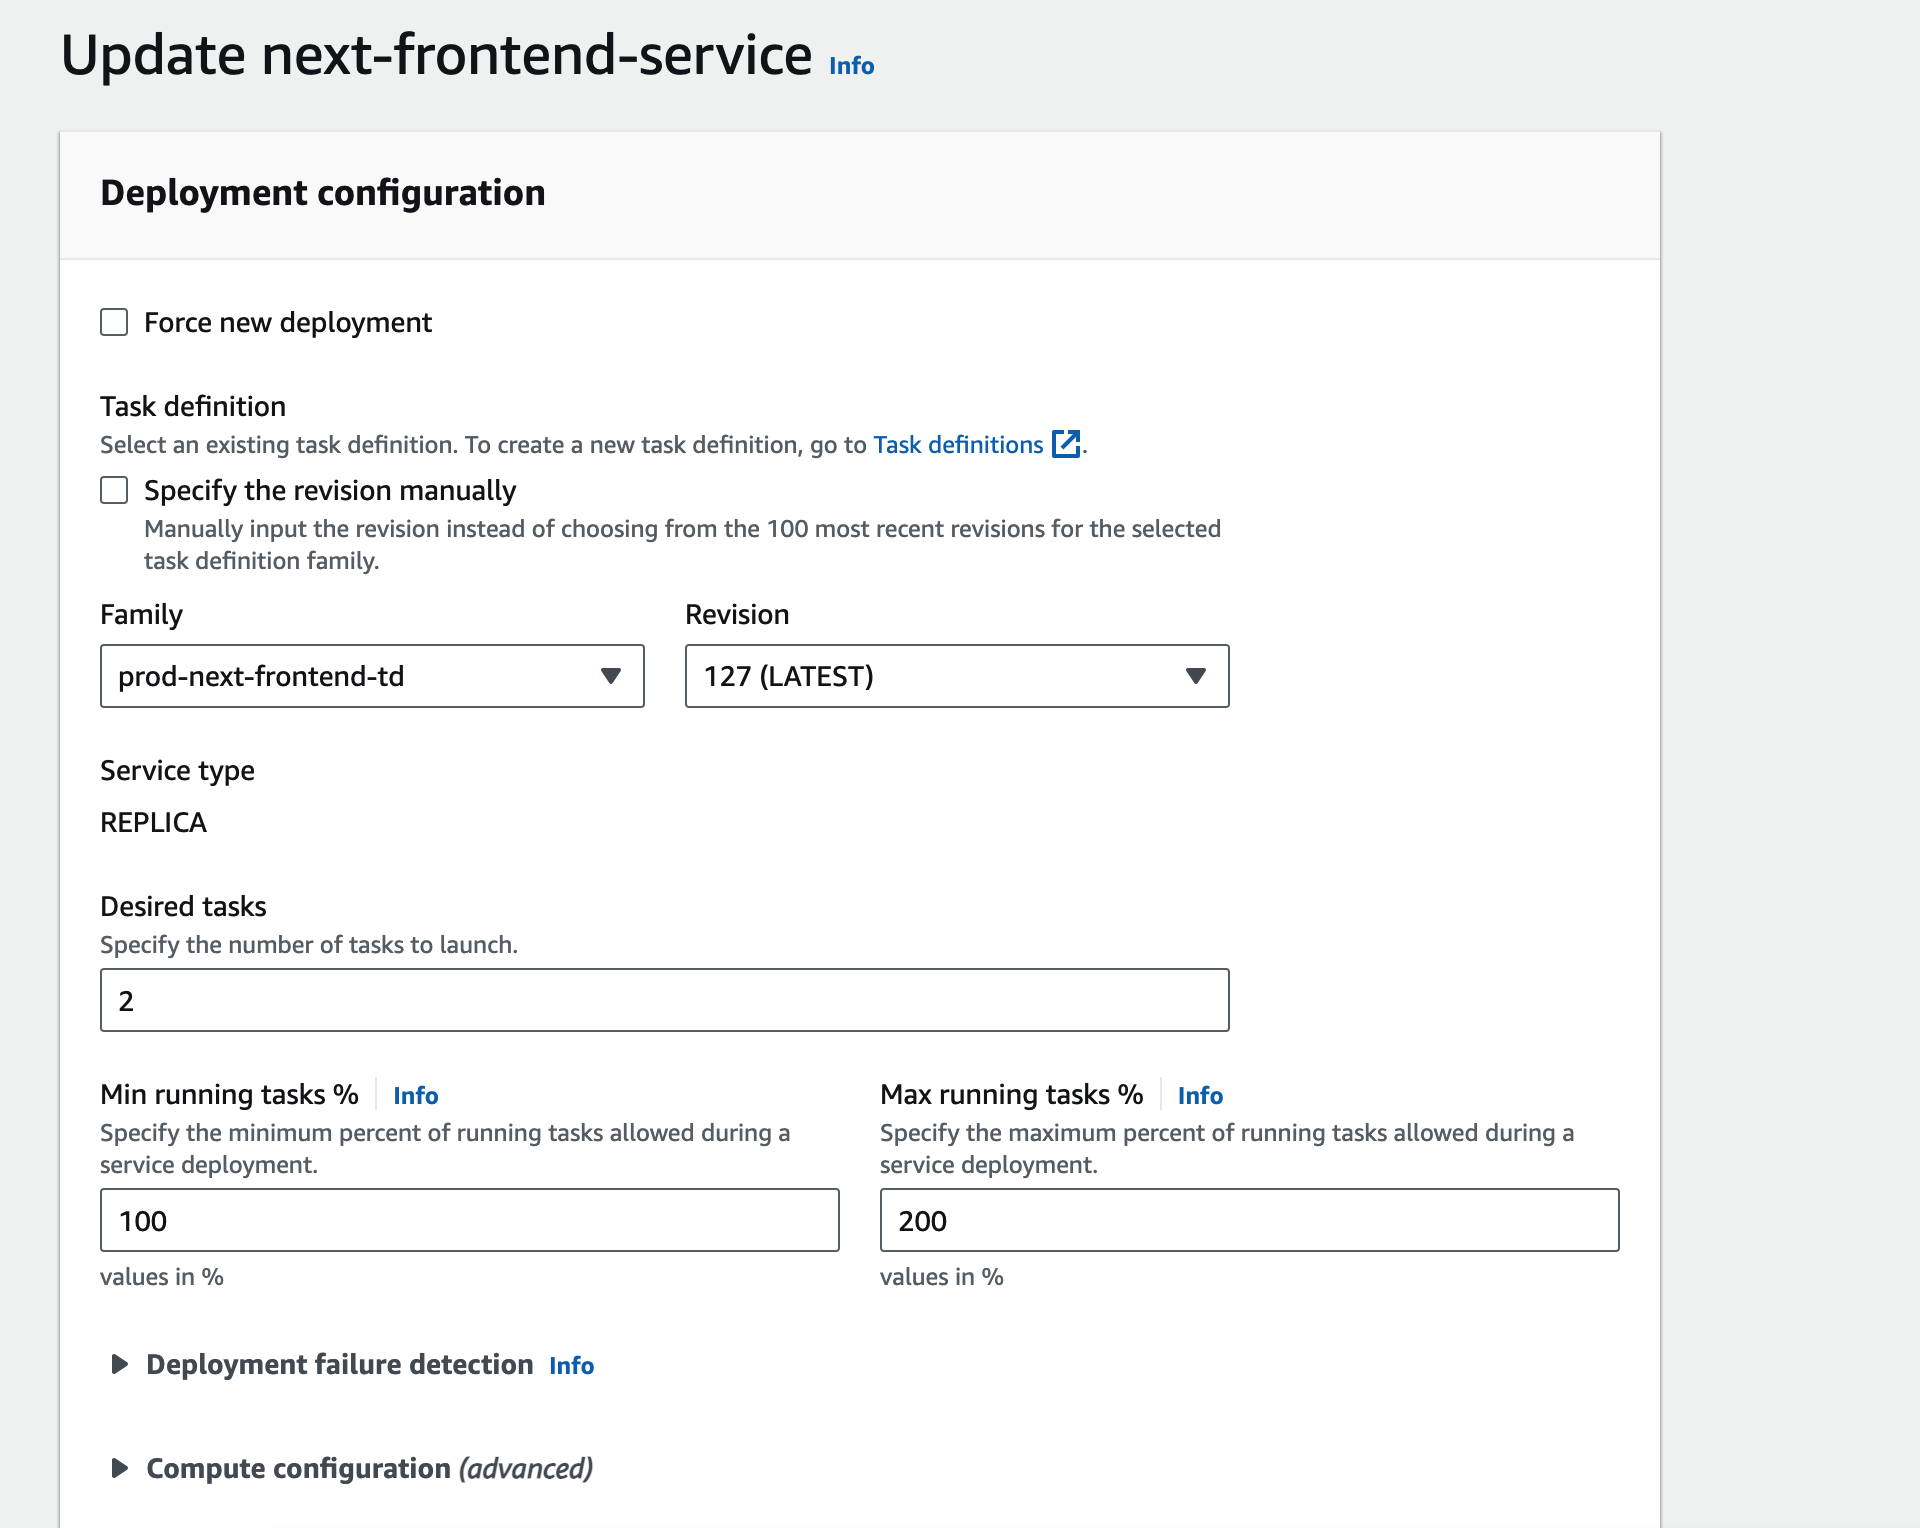
- So to do a revert or rollback, you choose a downgrade (Can choose any version).
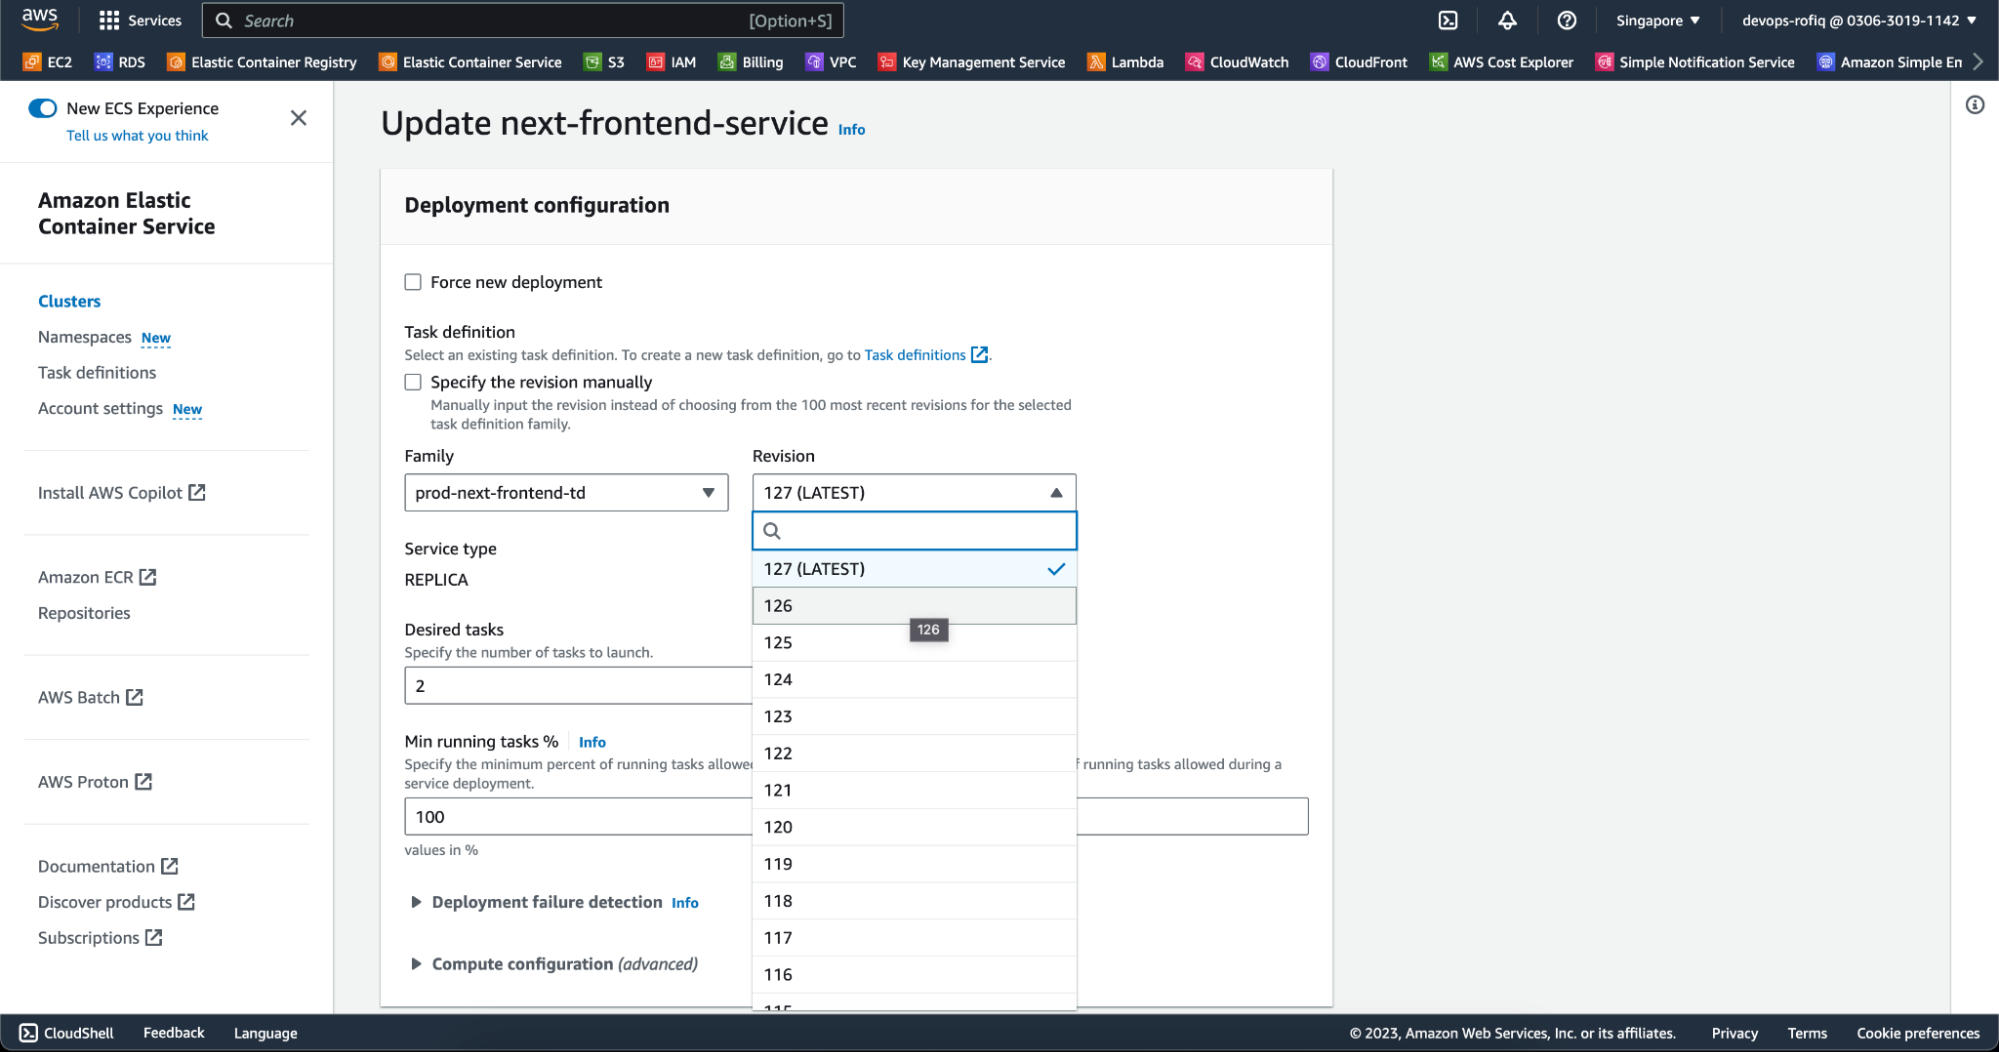
- For example, choose version 126
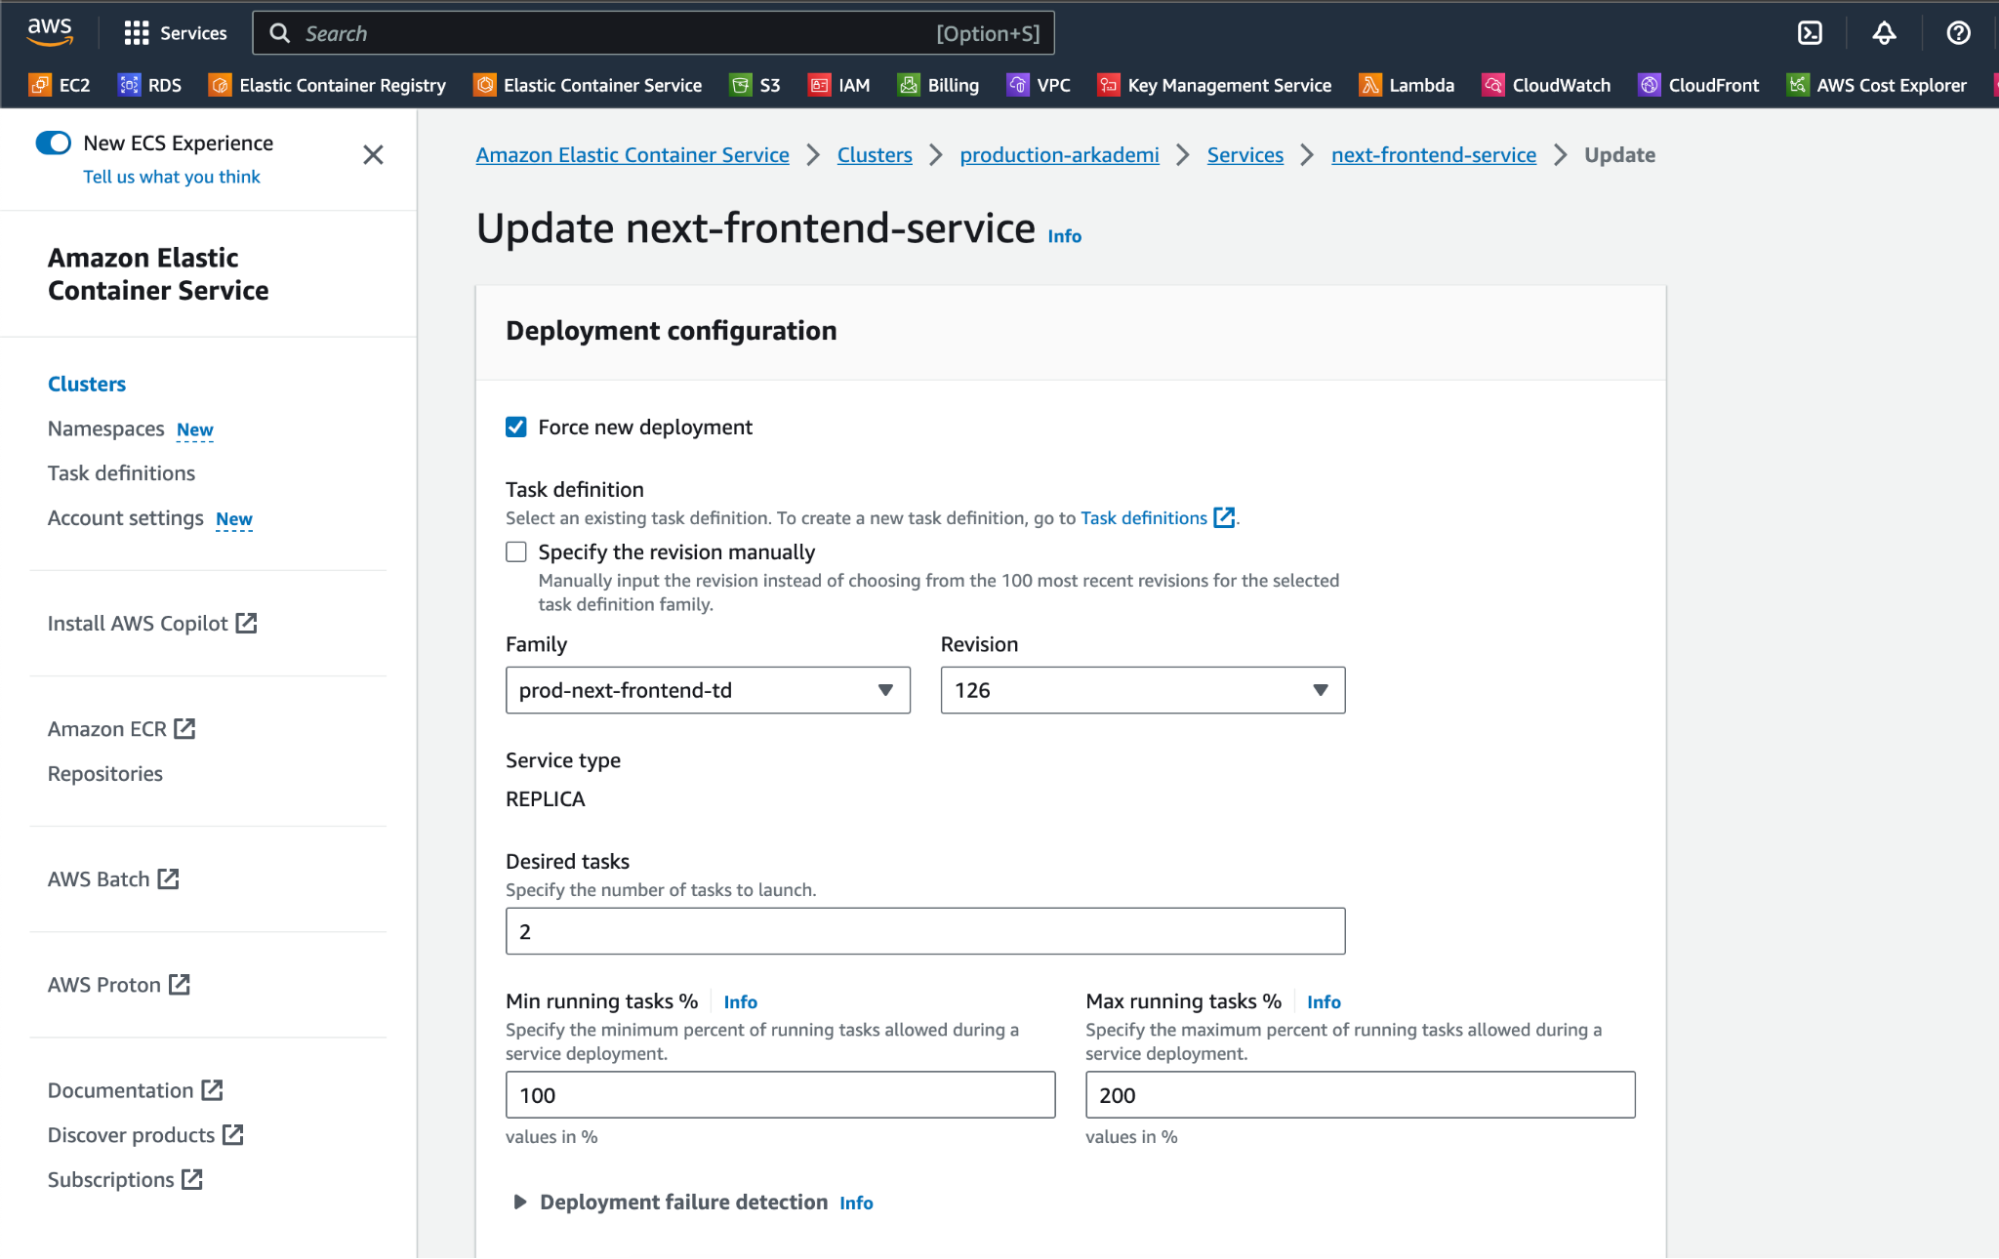
- Scroll down, then click update
- If it has been updated, a notification of the updated service display will appear as below. When viewed from
Tasks (2 Desired)there are2 Pending | 2 Running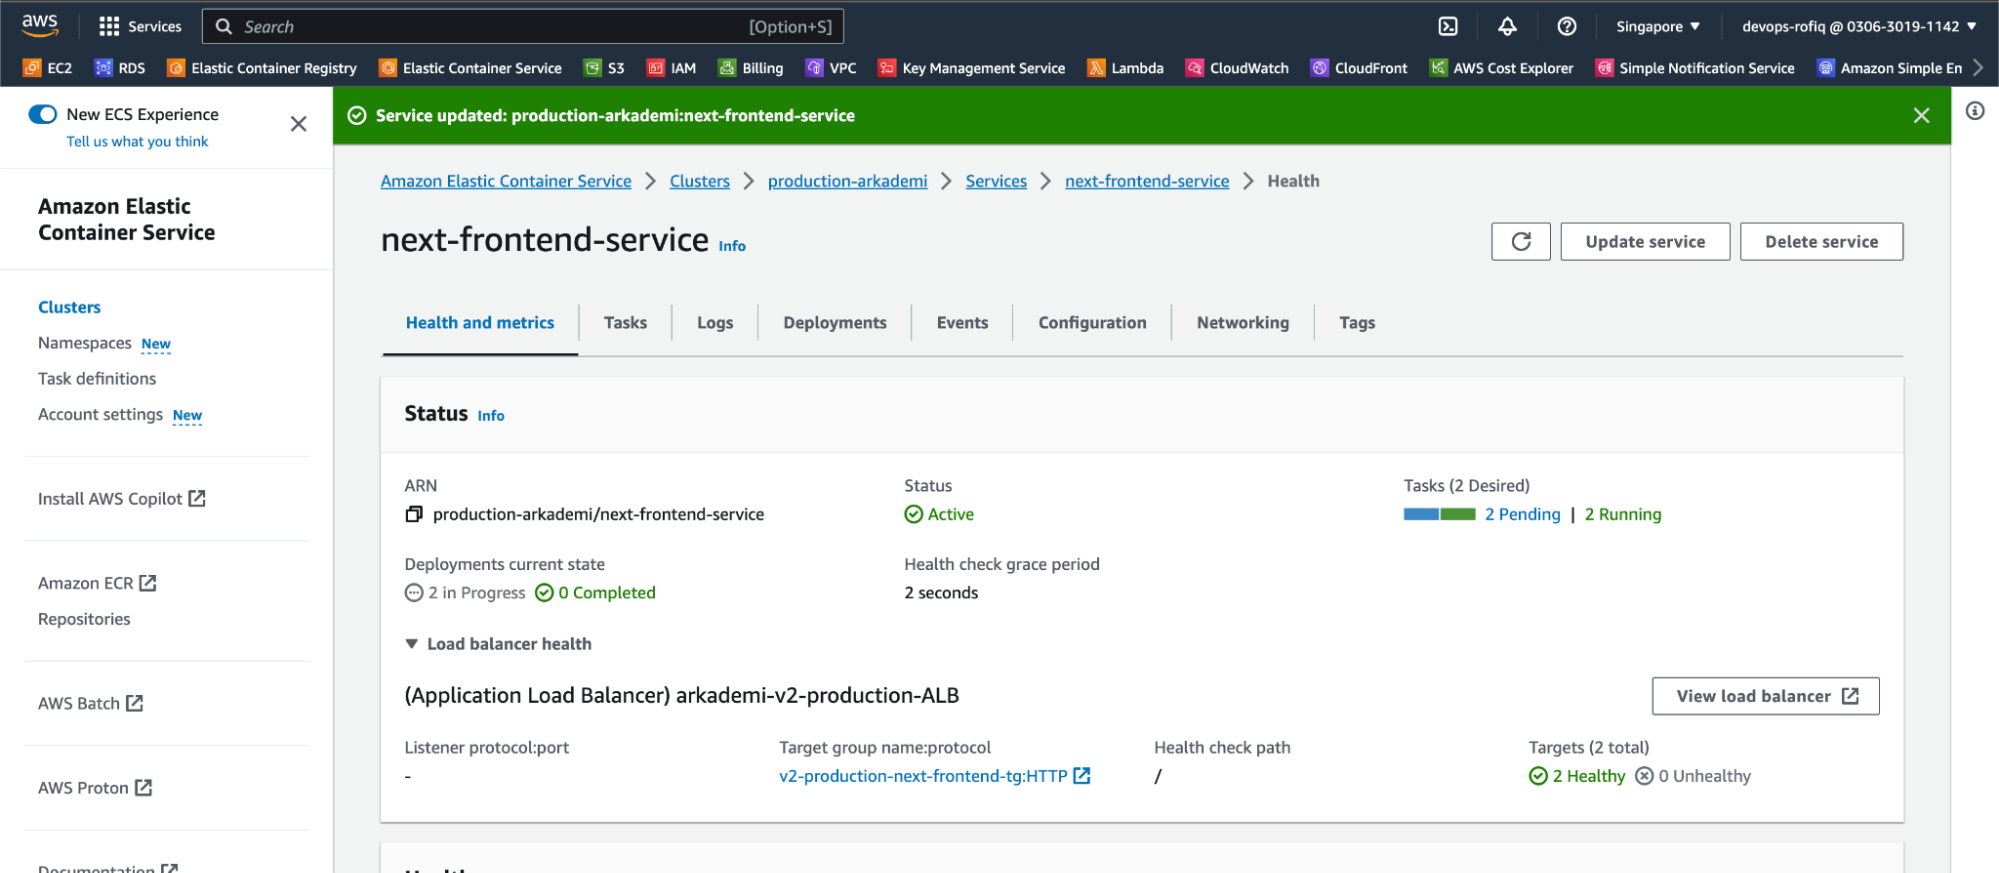
- Move to the Tasks tab section to see if the previous version is running or not.
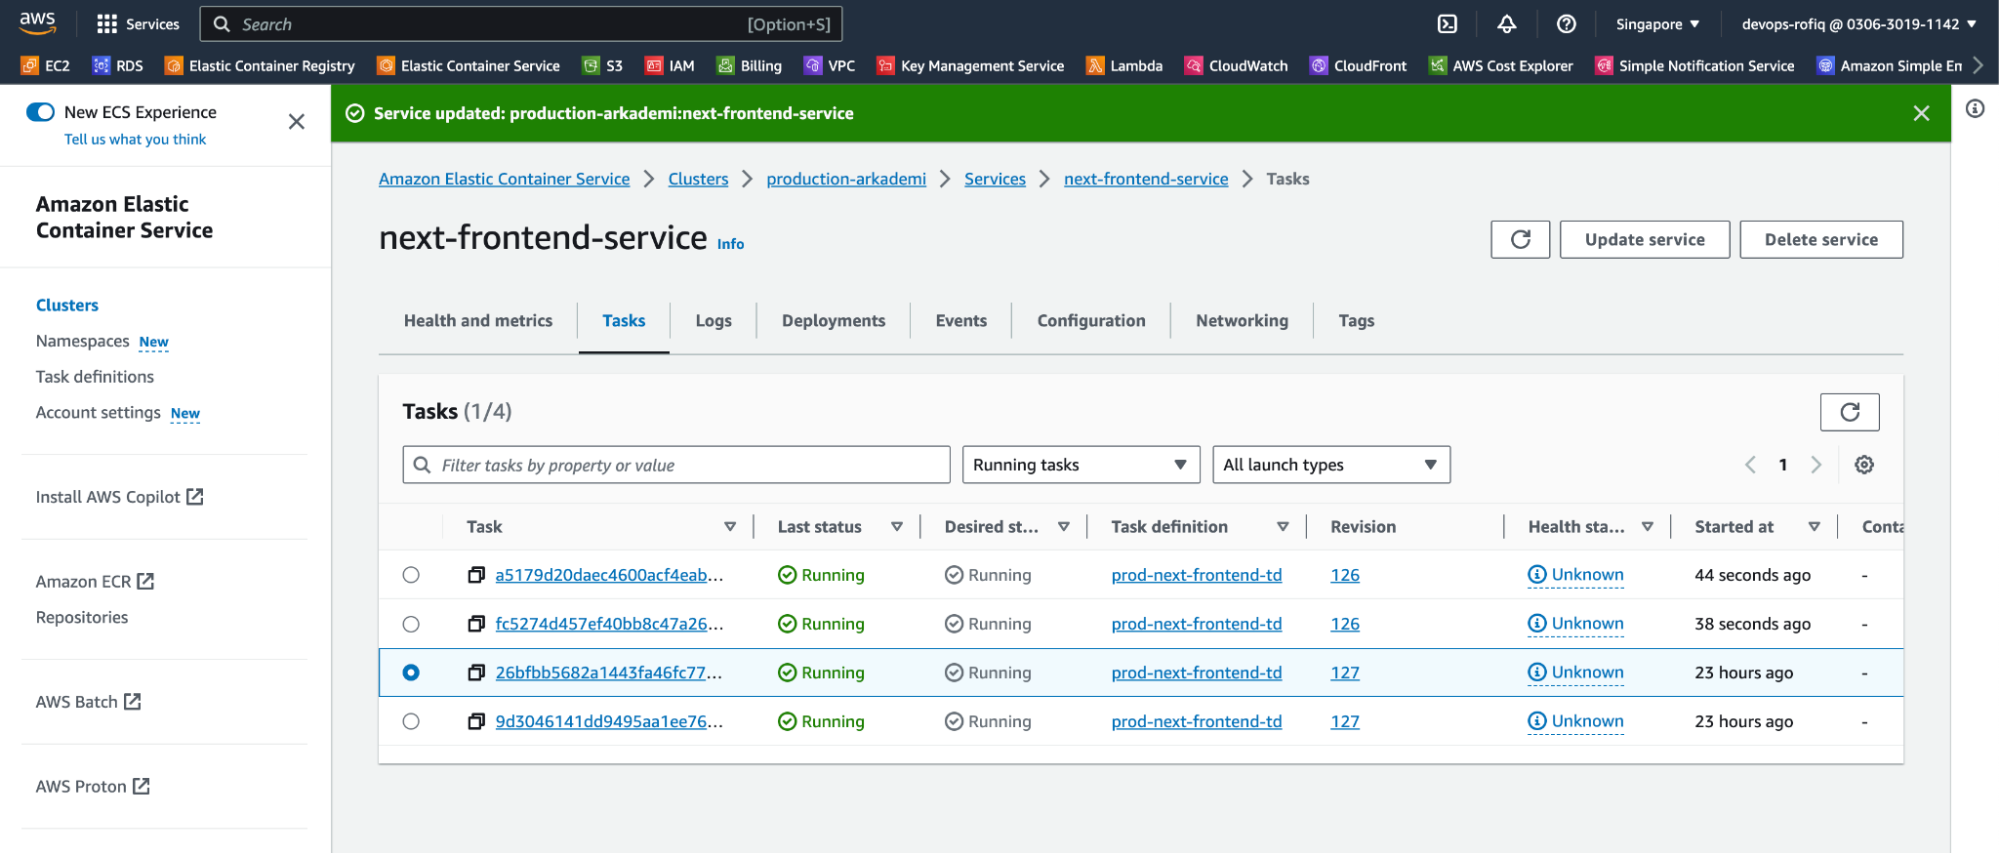 From the picture above there are 4 running tasks, 2 tasks revision 127 and 2 tasks revision 126, which later if revision 126 has run and there are no issues / problems after running, revision 127 will automatically be terminated and replaced by revision 126 as below.
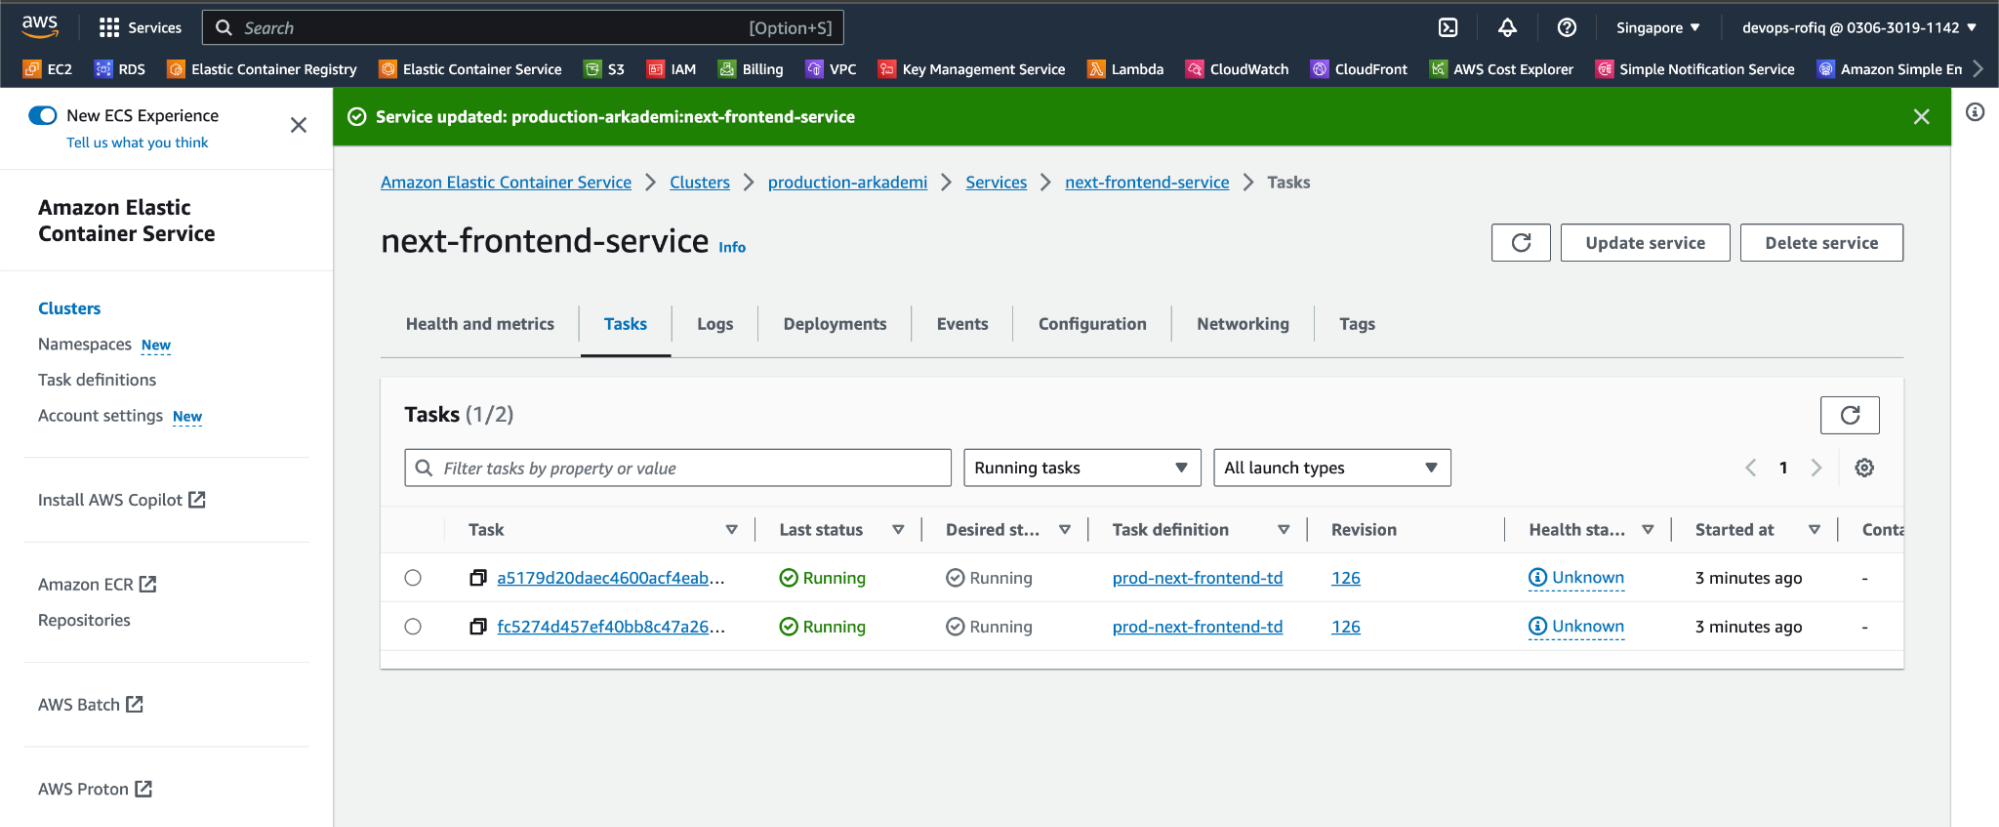
- If the rollback has been done, check on web production
info
If you have issues such as white blanks (or others) after doing a rollback, it might be caused by cloudfront caching which still applies the css/js version. To solve this by doing a clear/invalidate cache frontend production
Invalidate Cloudfront
info
This can be done through the AWS console or through the admin panel.
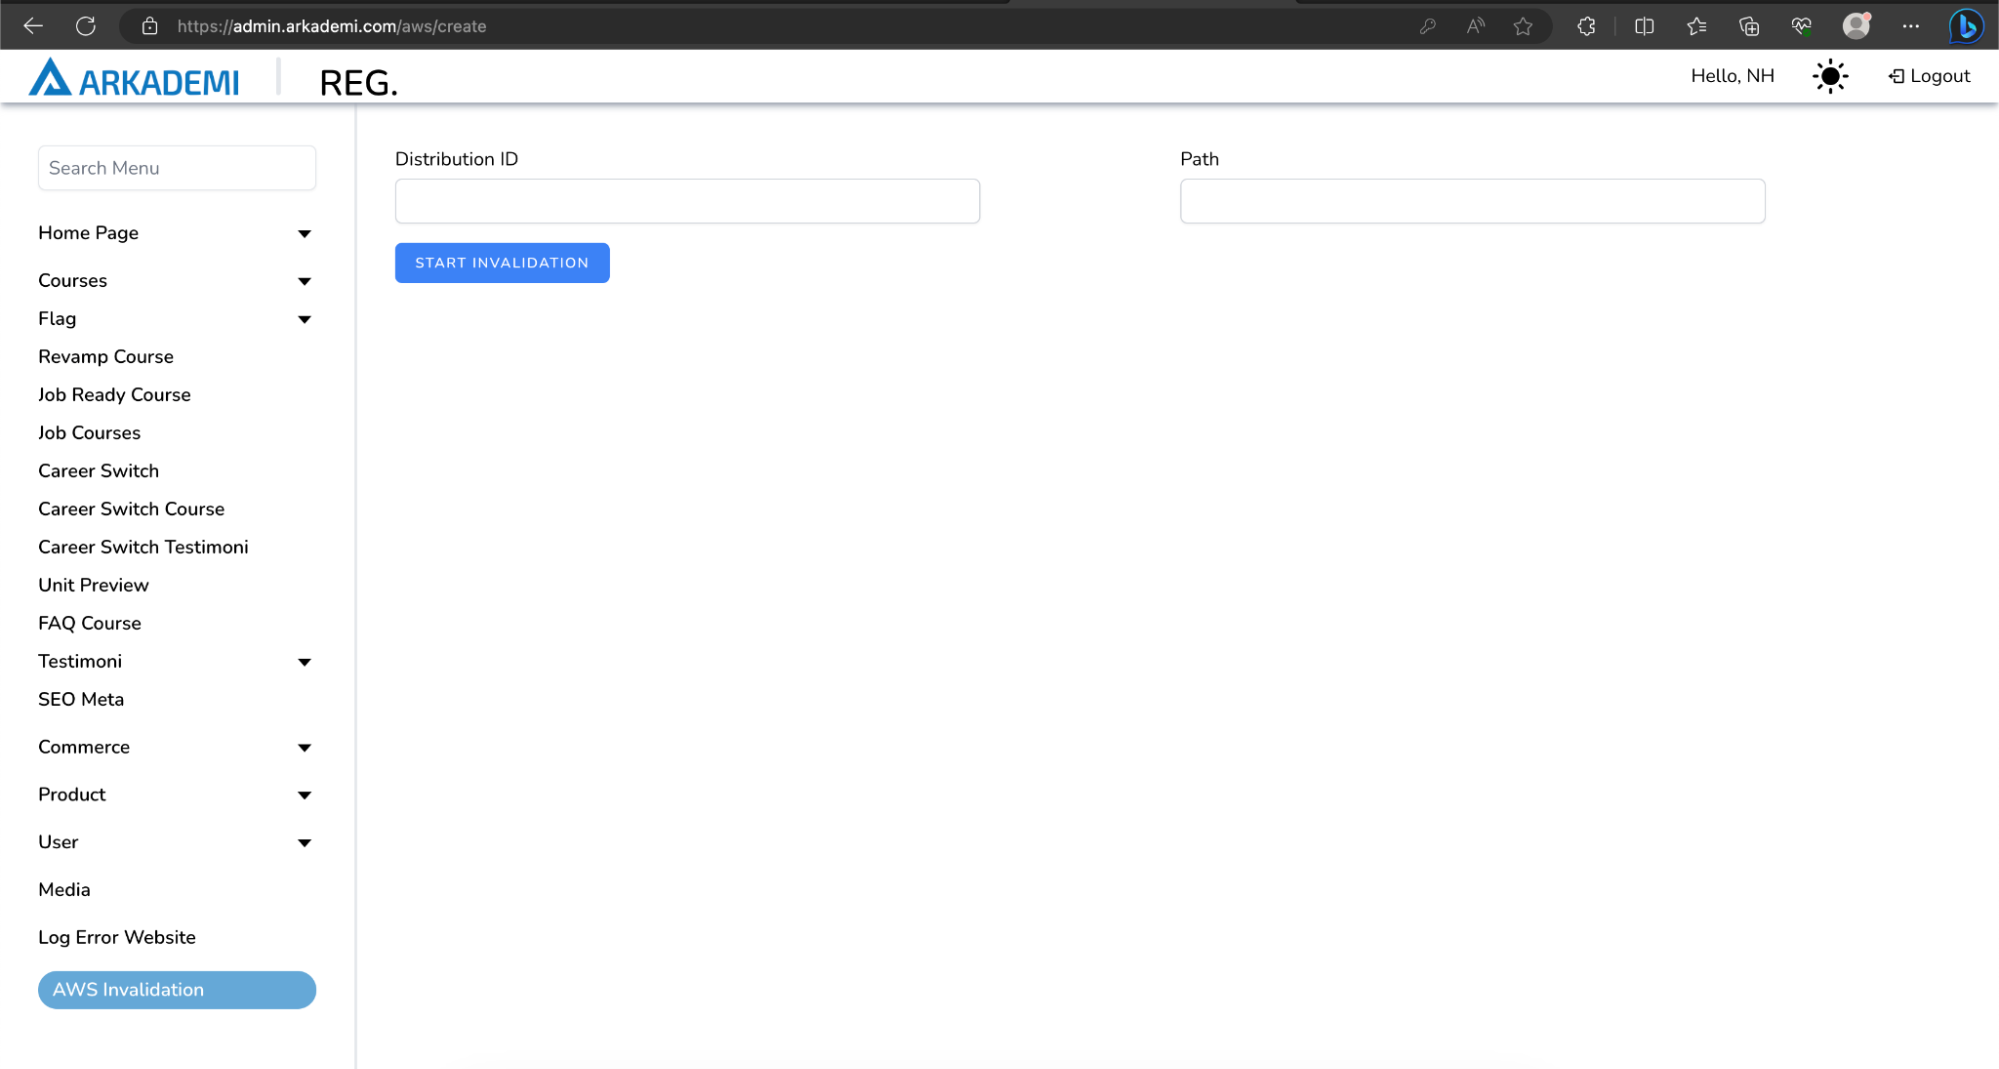
- Visit the admin panel and open the AWS Invalidation menu
- Enter the distribution ID and path as shown below, then click
Start Invalidation.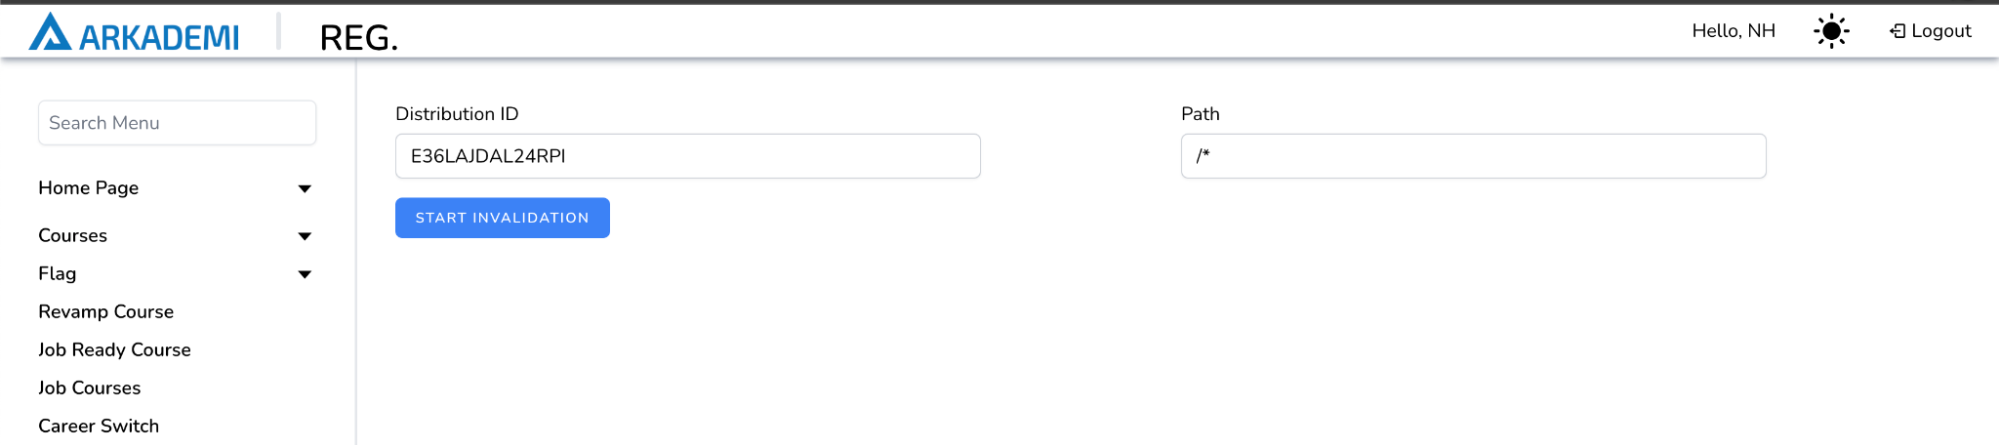
- If successful, there will be a notification

- Done