Create JRC Class
Introduction
Purpose
This Standard Operating Procedure document serves as a guide for creating well-organized classes on the arkademi.com website.
Scope
This document covers all processes related to class creation, including data collection, validation, input, editing, and class publishing.
Definitions
- Curriculum data is an arrangement of teaching materials
- Modules, also called sections, are the curriculum's main parts.
- Units are components that contain learning materials such as text, images, videos, or other content.
- Quiz is a component that focuses on evaluating users' knowledge or understanding after they have completed the learning material in a particular unit or section.
- Question is a question piece that combines into a Quiz.
- Assets is a set of data to support teaching materials such as thumbnails, badges, certificates and reading materials.
Responsibilities
- System Administator, responsible for the entire class creation process
- Commercial Division is responsible for
Harga Kelasdata - Partnership Division is responsible for
Partnerdata - Academic Division which consists of Learning and Multimedia division is responsible for the data collection process of
Materi Kelas,Gambar,VideoandKurikulum Kelas.
Procedures
Colleting Data
Partner Data
- Make sure the data
Nama Partner,Lembaga,Judul Materi,Deskripsiis present. - If there are any data deficiencies or mistakes, contact the partnership division.
Class Materials Data
- Make sure the class material data is complete, which includes
Kurikulum,Deskripsi,SEO,Games,Tugas Akhir,Nomor Kompetensi SKKNI,UX Writting, andQuestiondata. - In the
Kurikulumdata, make sure there is data for the opening component to the closing component, as well as ensuring that theDurasidata for each component and the video material link can be accessed. If there is any missing data, contact the Multimedia division. - In the
Deskripsidata make sure it containsIkhtisar,Tujuan Umum,Tujuan Khusus,Aspek Kompetensi,Sesi Konsultasi,Kelompok Sasaran Pelatihan,Sasaran Kompetensi,Sertifikat Kelulusan,Metode Ajar,Evaluasi,Standar Kompetensi,Durasi Akses, andTentang Pengajar. If there is any missing data, contact the Learning division to complete it. - In the
Questiondata, make sure that there are at least 10 questions available, with each question having at least 2 multiple choices along with the answer key. If there is any missing data, contact the Learning division.
Data Assets
- Make sure the asset data which are
Thumbnailfile,Bahan Bacaan,Class Certificate,Frame Certificateare available. - In case the data is missing, please contact the Multimedia division to complete it.
Pricing Data
- Check that the
Harga Jualdata of the product is complete. - If there is missing data, please contact the Commercial division for assistance in completing the data.
Data Validation
The data validation process is performed at the same time as data collection, make sure the data collected is as needed. If there are any shortcomings, errors or mistakes, contact the related division. And only minor typos are allowed to be corrected directly.
How To
Work in WP
- A class is formed from a collection of components such as units, quizzes, questions, and class certificates created from different menus.
- Creating a class can be performed before or after the support components are created (using the edit menu).
- Open admin page
- Open LMS menu then choose
Semua Kelas - Click
Add Newmenu to add new dataTipCreate a Class can be made using the FE or BE menu, to suit your needs.
- Fill out the form, and here some notes:
- Fill in
Judul - Specifying
Kategori Kelas - Choose
Level Kelas - Fill in
Deskripsi KelasIkhtisaris the description that appears in the Arkademi App
- Upload Thumbnails or
Feature Image - Uploading Square
Thumbnails - Fill out :
Sertifikat Kelulusan URLPeluang KarirPMO CategoriesInstructure NameInstructure DescriptionCertificate Fram URLis mandatoryAspek KompetensiTujuan UmumTujuan KhususYang akan dipelajariSkill yang diperolehSasaran kelompokSasaran kompentensi kerjaStandar KompetensiPeluang atas kompetensi PelatihanSertifikat Kelulusan (penjelasan)Total Duration Parameter:- The unit is
Hari
- The unit is
Unit completion lockchooseTampilAuto EvaluationchooseTampilExcellent Badgeupload iconBadge TitleBadge Pecentagewith minimum value1Completion CertificatechooseTampilCertificate Templateis selecting a templatePassing Percentagein accordance with the provisions- Setup
Kurikulum Kelasaccording to the curriculum structure Associated Productdetermine the product according to the title
ModuleorSectionadded in curriculum arrangement- Hal-hal yang perlu diperhatikan dalam pembuatan komponen pendukung:
- Certificate:
- The menu is
Certificate Templateyang terdapat didalam menuLMS - First, upload the certificate template in the
Mediamenu - Notes:
- Fill in
Judul - Choose an image template
- Add
Shortcodein the picture column (add picture)
- Add
- Fill in the media url on
Background Image/Pattern - Choose
TampilonEnable Print & PDFso it can be downloaded - Determine
Certificate Widght and Heightcustomized exactly to the picture Custom Class&Custom CSSto set the layout of the layout text shortcode
- Fill in
- Click
Publishand done.
- The menu is
- Unit:
- Open LMS menu then choose
All Units - Notes:
Jenis SeriorUnit Type:- Video for video
- General for non video
Durasi Seriuses seconds or minutes, but the default is minutesDokumen Lampiranto attach a document that can be downloaded by the userMp4 Linkfor online video that can be displayed on mobile app
- Click
Saveand done.
- Open LMS menu then choose
- Quiz:
- Open LMS menu then choose
All Quizes - Click
Add Newto add new quiz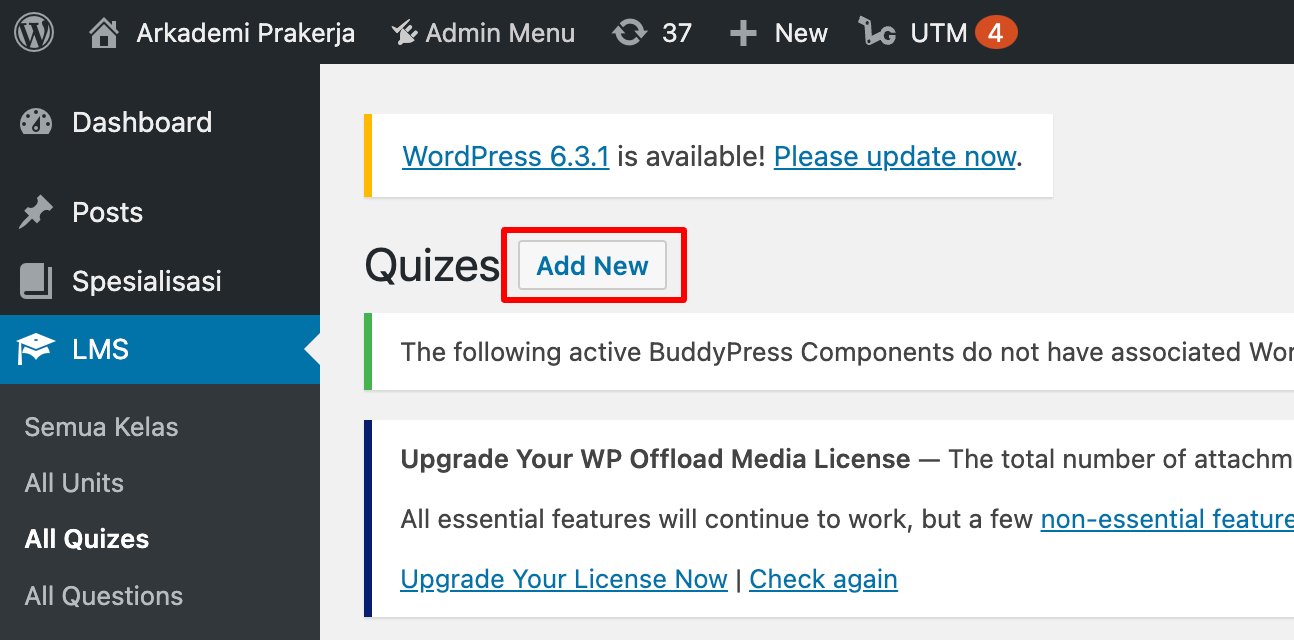
- Fill out the form. Notes:
- Opening Statement depends on the requirement
Kelas yang Terhubungmust be filledDurasidanParameter Durasi Kuismust be filledHasil Evaluasimust be checkedKesempatan Mengulangmust be filled- Unlimited filled by
9999
- Unlimited filled by
Pesan Setelah Kuis Selesaimust be filledTampilkan Hasil Setelah DiKumpulkanmust be checked- Quiz Collection, can be static and dynamic
- Statis, adding manually
- Dynamic, by filling in the
Tagsection, which selects the question bank, then specifies how many questions are issued along with the value if answered correctly
- Fill in the minimum value
Quiz Passing Marks/Score Mengacak Pertanyaan Kuischeck if questions are presented randomly- Post Test only:
- Choose certificate template
Certificate Template - Select minimum score
Certificate Awarding Marks/Score
- Choose certificate template
- Quiz Type, must be checked
- Done
- Open LMS menu then choose
- Questions:
- Open LMS menu then choose
All Questions - Click
Add Newto add new question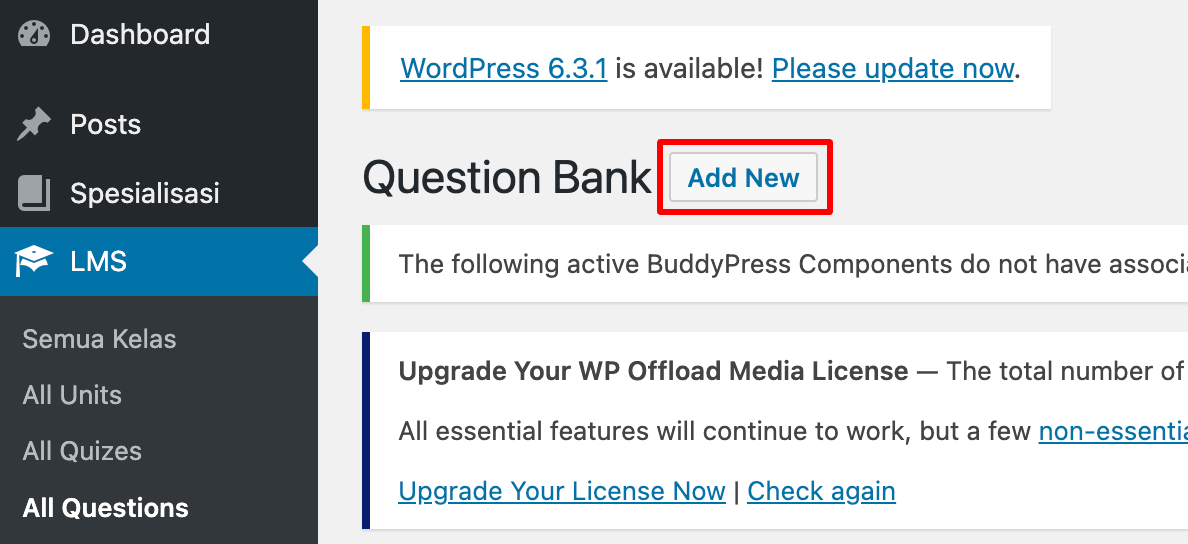
- Fill out the form. Notes:
- Fill in
Judul Jenis Pertanyaanwhich often used are multiple choiceQuestion Optionis the answer choicesJawaban yang benarbased on the numbers in the previous sectionKisi Jawabanto give hintsQuestion Tagto group questions into question banks
- Fill in
- Done
- Open LMS menu then choose
- Create Product:
- Open
Produkmenu - Fill out the form, notes:
- Fill in
Deskripsi - Fill out
Nama Partner - Add
Associated Course - Fill
Subcription Durationwith time unitHari - Fill
Regular Price- If there is a sale fill in
Sale Price
- If there is a sale fill in
- Fill in
- Done
- Open
- Certificate:
- Fill in
- Click
Publish - If it is necessary to make changes to the data, it can be done in the
Semua Kelasmenu. Move the cursor to the class you want to change, then chooseeditor choosedeleteto delete the data. - Done
Work in Admin Panel
Set JRC Flag
After create the class using WP, you need to make the course feels complete by adding the Kursus Siap Kerja flag. And
- Choose
Course FlagunderFlagmenu. - Click button
Tambah Course Flagon the right corner, to add new data. - Choose the course, then select
yesfor theJob Ready Coursefield. - Save it by click
Tambah Course Flag. Done.
Course Category's
A course belongs to at least one category, but it can be more according to the acquired data (found in the CATEGORY column). Specifically the category has parent and child category types, for parent make sure to be the first data added.
- Open
Category Coursemenu. - Click
Tambah Category Courseto add new data. - Choose the course, then select the category.
- Save by clicking the
Tambah Category Course
One category associated with a course is one data. So if a course has 3 categories, then the amount of data is 3. Don't forget to make sure the first data stored is the parent type category.
Fasilitator
- Open
Fasilitatormenu. - Click
Tambah Fasilitatorto add new data. - Fill in the available fields
- Save by clicking the
Tambah Fasilitatorbutton.
Instructor
- Open
Instructormenu. - Click
Tambah Instructorto add new data. - Fill in the available fields
- Save by clicking the
Tambah Instructorbutton.
The Instructor data available on the Deskripsi Learning
Free Trial Class
Free Trial Class is to provide free access to some class materials in selected classes. The JRC class is among the selected classes, so it is necessary to set up the class in order to provide the intended service. It has two steps which are, the flag for its course then the flag for its unit. To do the work, only available at Admin Panel.
- Choose
Course FlagunderFlagmenu. - Click button
Tambah Course Flagon the right corner, to add new data. - Choose the course, then select
Yesfor theFree Trialfield. - Save it by click
Tambah Course Flag. - First step done, now choose
Unit Flagmenu. - Same as the previous step, click button
Tambah Unit Flagon the right corner, to add new data. - Fill out the field with your previous course, then click
Tambah Unit Flagto go to the next step. - Choose the unit then select
YesforFree Trialfield. - Last, click
Tambah Unit Flag. Done.
Documenting Courses
After you create a course, you should input some data in this file and JRC Trackker file for easy data tracking needs or log records.