Create Prakerja Course
Introduction
This document is providing information about how to create classes for Prakerja App manually.
Overview
Create classes manually means the System Administration have to do it one by one through WP and Arkademi Prakerja admin panel.
Links
WP
https://prakerja-apps.arkademi.com/wp-admin
Prakerja Admin Panel
https://admin-prakerja.arkademi.com/
How To
Before create the class, you have to prepare some parts of the course which are Unit, Quiz and Question
WP
Prepare The Units
Unit adalah bagian dari kurikulum.
- Open LMS menu then choose
All Units - Click
Add Newto add new unit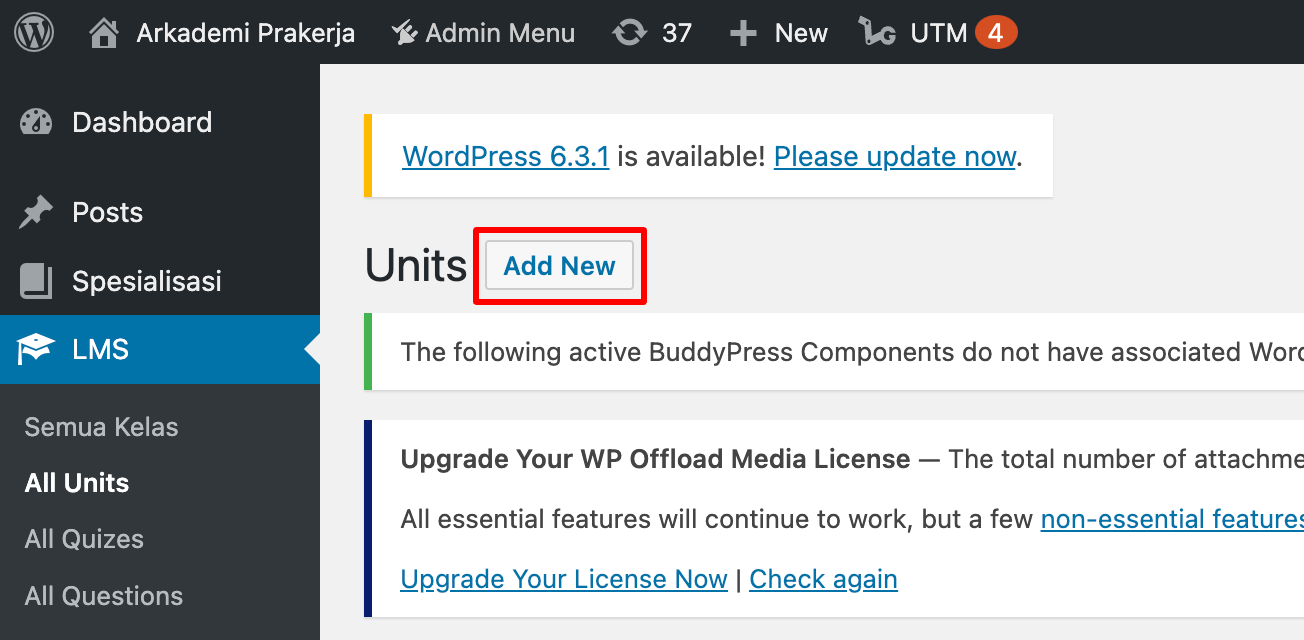
- Fill out the form
Notes:Jenis SeriorUnit Type:- Video for video
- General for non video
Durasi Seriuses seconds or minutes, but the default is minutesDokumen Lampiranto attach a document that can be downloaded by the userMp4 Linkfor online video that can be displayed on mobile app
- Done
Edit and delete features are available on the corresponding data row
Prepare The Quizes
- Open LMS menu then choose
All Quizes - Click
Add Newto add new quiz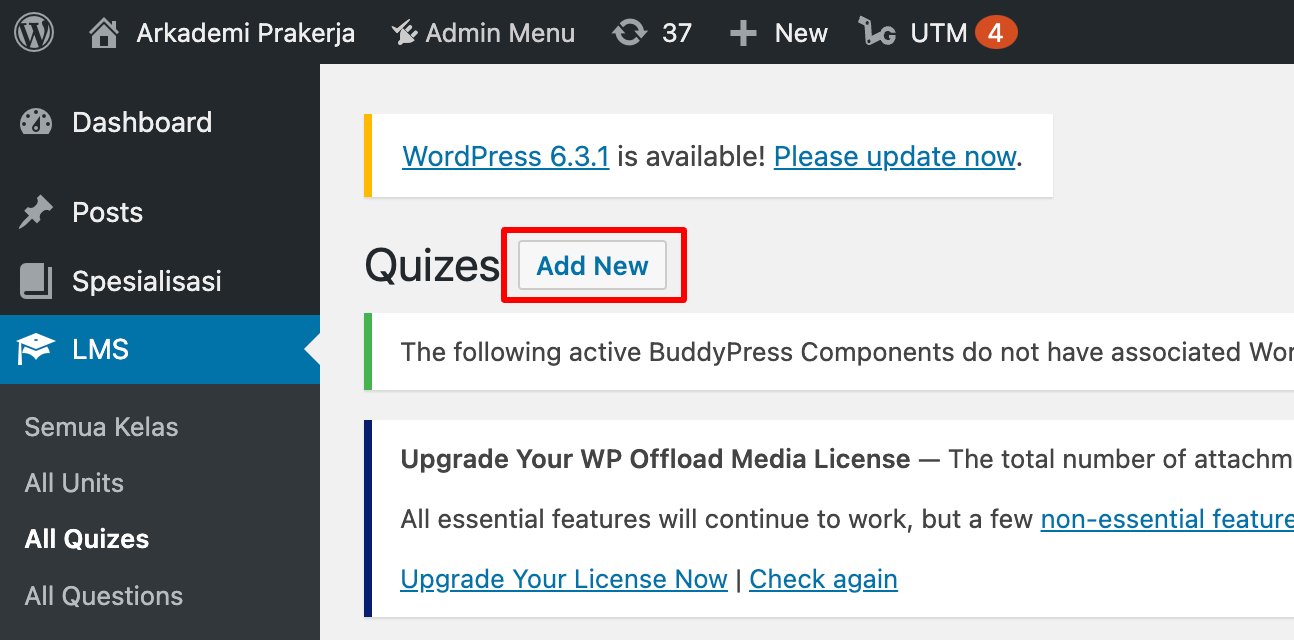
- Fill out the form
Notes:- Opening Statement depends on the requirement
Kelas yang Terhubungmust be filledDurasidanParameter Durasi Kuismust be filledHasil Evaluasimust be checkedKesempatan Mengulangmust be filled- Unlimited filled by
9999
- Unlimited filled by
Pesan Setelah Kuis Selesaimust be filledTampilkan Hasil Setelah DiKumpulkanmust be checked- Quiz Collection, can be static and dynamic
- Statis, adding manually
- Dynamic, by filling in the
Tagsection, which selects the question bank, then specifies how many questions are issued along with the value if answered correctly
- Fill in the minimum value
Quiz Passing Marks/Score Mengacak Pertanyaan Kuischeck if questions are presented randomly- Post Test only:
- Choose certificate template
Certificate Template - Select minimum score
Certificate Awarding Marks/Score
- Choose certificate template
- Quiz Type, must be checked
- Done
Prepare The Questions
- Open LMS menu then choose
All Questions - Click
Add Newto add new question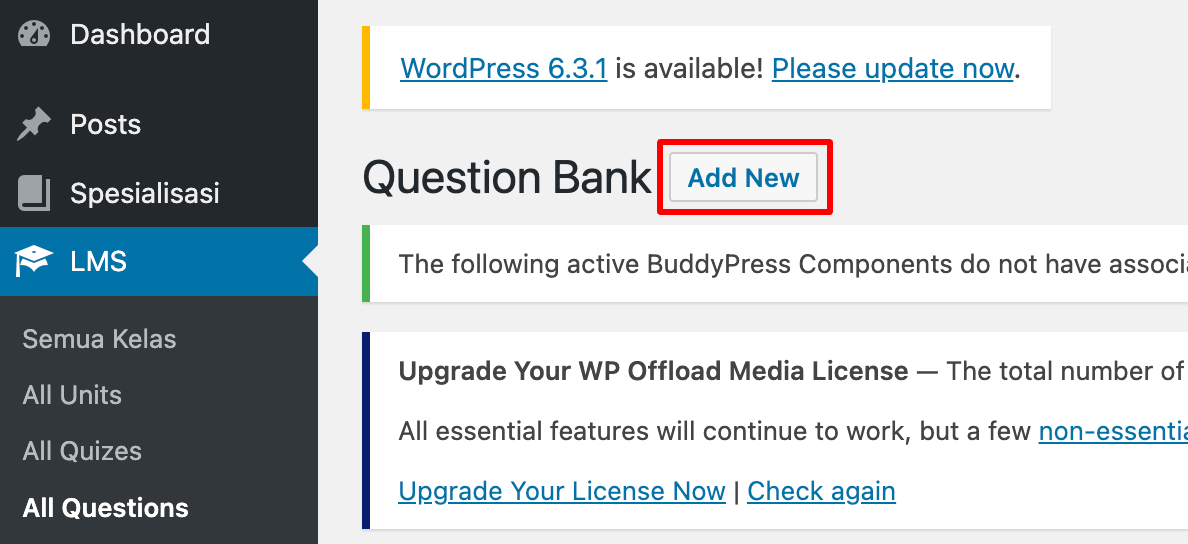
- Fill out the form
Notes:- Fill in
Judul Jenis Pertanyaanwhich often used are multiple choiceQuestion Optionis the answer choicesJawaban yang benarbased on the numbers in the previous sectionKisi Jawabanto give hintsQuestion Tagto group questions into question banks
- Fill in
- Done
Create a Course
- Open LMS menu then choose
Semua Kelas - Click
Add Newto add new Unit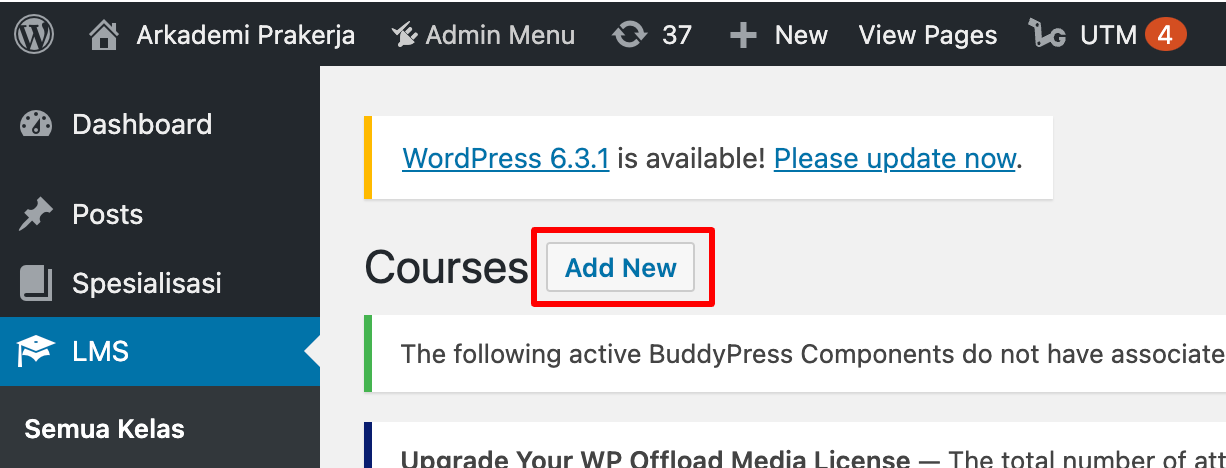
- Fill out the form
Notes:
- Fill in
Judul - Specifying
Kategori Kelas - Choose
Level Kelas - Fill in
Deskripsi KelasIkhtisaris the description that appears in the Arkademi App
- Upload Thumbnails or
Feature Image - Uploading Square Thumbnails
- Fill out
Sertifikat Kelulusan URL - Fill out
Peluang Karir - Fill out
PMO Categories - Fill out
Instructure Name Instructure DescriptionCertificate Fram URLbersifat wajib diisiAspek KompetensiTujuan UmumTujuan KhususYang akan dipelajariSkill yang diperolehSasaran kelompokSasaran kompentensi kerjaStandar KompetensiPeluang atas kompetensi PelatihanSertifikat Kelulusan (penjelasan)Total Duration Parameter:- The unit is
Hari
- The unit is
Unit completion lockchooseTampilAuto EvaluationchooseTampilExcellent Badgeupload iconBadge TitleBadge Pecentagewith minimum value1Completion CertificatechooseTampilCertificate Templateis selecting a templatePassing Percentagein accordance with the provisions- Setup
Kurikulum Kelasaccording to the curriculum structure Associated Productdetermine the product according to the title
- Fill in
- Done
Add The Certificate
- Open the LMS menu then choose Certificate Templates
- Fill out
Notes:
- Fill in
Judul - Choose an image template
- Add
Shortcodein the picture column (add picture)
- Add
- Fill in the media url on
Background Image/Pattern - Choose
TampilonEnable Print & PDFso it can be downloaded - Determine
Certificate Widght and Heightcustomized exactly to the picture Custom Class&Custom CSSto set the layout of the layout text shortcode
- Fill in
- Click
Publishand done
Create Product
- Menu
Produk - Notes:
- Fill in
Deskripsi - Fill out
Nama Partner - Add
Associated Course - Fill
Subcription Durationwith time unitHari - Fill
Regular Price- If there is a sale fill in
Sale Price
- If there is a sale fill in
- Fill in
- Done
Admin Panel
Add Flag to The Course
Courses that have been added in WP, need to add a flag or marker that the class is a webinar class.
- Open Webinar on the sidebar then choose Course Flag menu.
- Then the data will be displayed in the form of a table that has an update and delete feature for available classes. In addition, on the top right of the screen there is a button to add a new course.
- Select Course as needed
- Then fill in the Webinar input with the value
1 - Done
Webinar Course
To add webinar links for units inside the curriculum. This can be done if the class is live (already available on Digital Platform).
Webinar Info
This page is to add the detail information about the webinar, such as the Sub Title, Product Limit, detail Sesi (Course Page)
Category
There are 2 types of certificates, namely certificates with "Baik" and "Sangat Baik" statement.
- Choose Media on the menu
- Will display a table containing the unit data included with the delete feature.
- To add unit data, click the
Addbutton under the page title. Please wait as the process of moving the page will take a while. - When the page for adding new data is available, fill out the form.
- When the form is filled, click
Save. Done.
Writer: Media
Date: September 2023